That loathsome mandoline

Ugh.

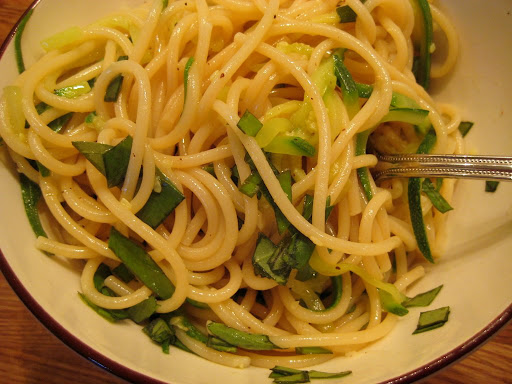
Ok, so I had pounds of zucchini to use up and I’d been planning on a very veg-heavy absorption pasta, but then I saw a variety of posts the web about boiled pasta with zucchini and I gave in to the always gorgeous photos at Smitten Kitten and went with a julienned zucchini spaghetti.

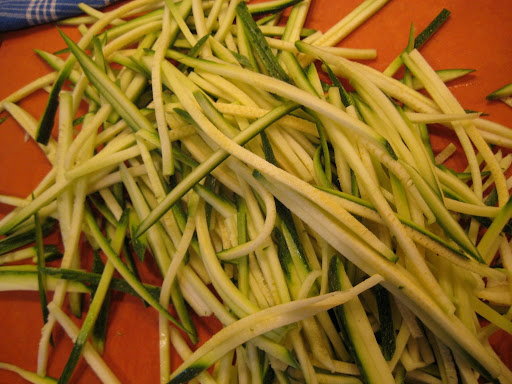
First of all, don’t be fooled by how nice all this julienned zucchini looks:
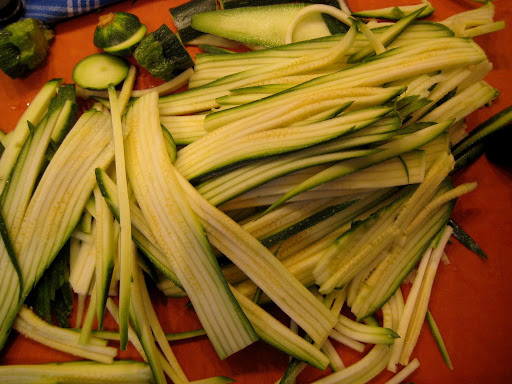
While the results are better than if I’d cut by hand, the mental anguish was far greater. I have the STUPIDEST OXO Mandoline, with a clunky finger guard that I ended up having to use because it was so hard to force the zucchini through the julienne blade that I was sure I’d slice off a finger if I didn’t use the guard. UGH, the whole thing is bulky and awkward and the only part I like is how the legs fold out. It’s easy to twiddle the dial to adjust the thickness, but nearly impossible to pull out the piece that lets you either thoroughly wash the flat blade or flip it around to get wavy cuts. Argh.

Look at what the finger guard does to the vegetables:
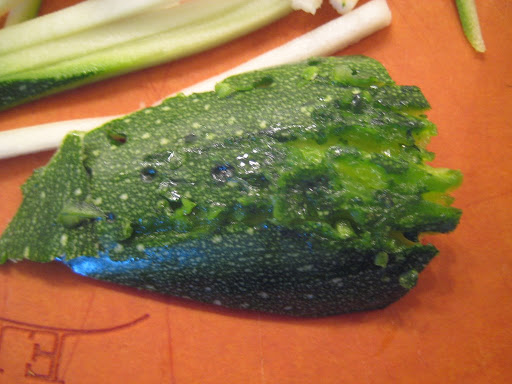
That is a much smaller leftover piece than usual, because I was tempting fate and not really using it as directed at that point. The one time I tried to use this for onions about half of each onion was unusable. Grr.

Anyway, I wish instead of looking at Smitten Kitchen’s photos, I had actually read her recipe. I was in a coma and cooking without paying attention and I ended up not using any garlic or….anything that would give this flavor. Bleck. It was so boring. Had I read her directions or used a lick of common sense I would have cooked garlic in olive oil and then tossed the pasta/zucchini in THAT. Instead I just tossed olive oil over the pasta and zucchini, gave it a stir, and ate it alone while nursing my mandoline-wounded feelings in front of the TV while Ben was at band rehearsal. Tragic.

It was the first time I used some of my basil, though. That was a bright spot.
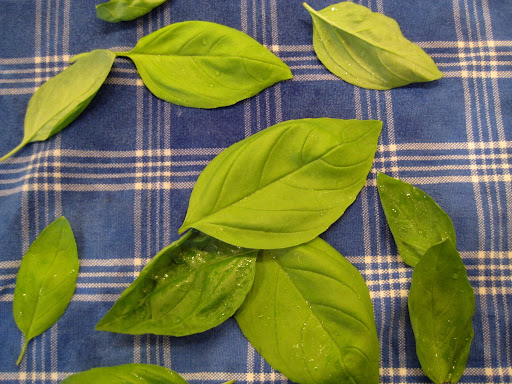
Happier times ahead: Since I was home for the weekend there is lovely Oregon Food Porn to come.

Blackboard results

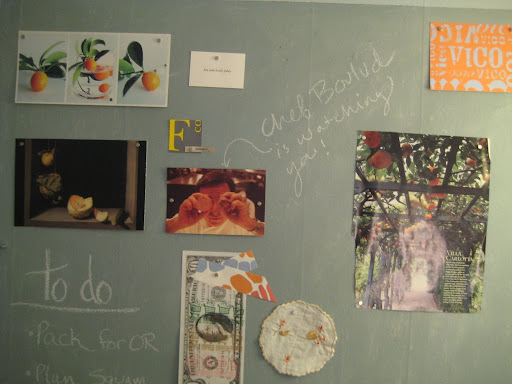
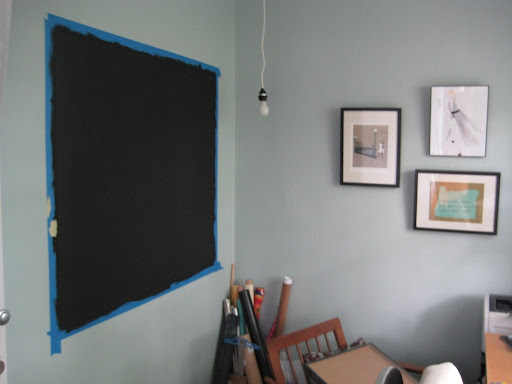
Oh, for shame, Kate! I swore to myself that I would do some posting while I was home in Oregon (for a very, very lovely wedding, in which I was participating and at which I gave a toast–eep–and ate wonderful food and danced a lot and my feet hurt), but I was too too busy and didn’t. Very briefly, here is the final result of the magnetic blackboard saga. I painted 5 or 6 coats of the magnetic primer, one coat of white primer and one coat (plus touch-ups) of homemade blackboard paint, from Martha Stewart Living per Germi‘s tip. The chalkboard works, but not that well–the wall is just too textured to get a smooth line from the chalk. I love the idea, though, and will definitely use the recipe for future projects–it is super easy and I bet it works great if you have a smooth surface and, um, use matte paint instead of eggshell heavily doctored with regular acrylics. Ahem.

Anyway!

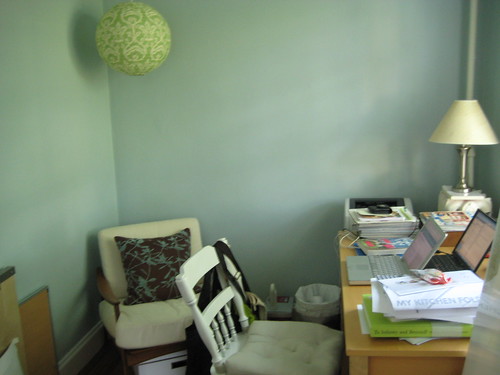
This before picture doesn’t show the blank wall very well–the blank wall where the board went, anyway. But it does show the messy office and how badly I needed to hang art.

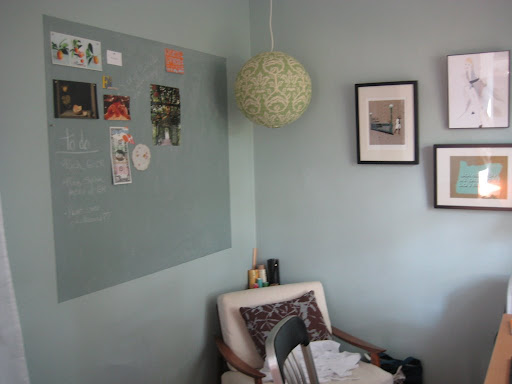
Now (The wall color is the same and is more accurate in the before photo!):

Closer look at the board–I had no idea I was on a citrus and orange-colored-things kick until I put up a pile of things I’d been saving in one place. The power of the inspiration board!

In addition to not writing very well on the bumpy surface, the chalk is not well served by my horrible handwriting–I need penmanship classes. There is a girl in my office with the most astonishing handwriting, and I always think back to my friend Margaret’s gorgeous perfect cursive with longing… I am too impatient!

Funny synergy thing: I just caught up on my bloglines from the last 5 days and saw that Mrs. Limestone just did a magnetic blackboard, too. And then I saw blackboard walls all over at The Kitchn today. Odd.

CSA: Week four, beating back the beets

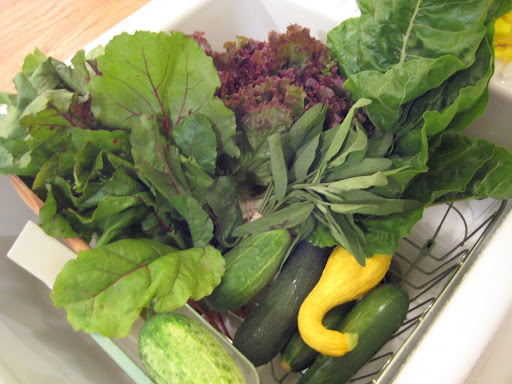
When I picked up the CSA share last week I found myself facing a replay of the previous two weeks:

-1 head lettuce
-1 bunch beets
-1.5 pounds summer squash/zucchini
-1.5 pounds cucumbers
-1 bunch chard
-1 bunch sage

Sadly I had fallen a bit behind and still had beets from two weeks before languishing in the produce drawer, along with zucchini from one week before (we hadn’t eaten at home much). Eek! Time to do some processing.

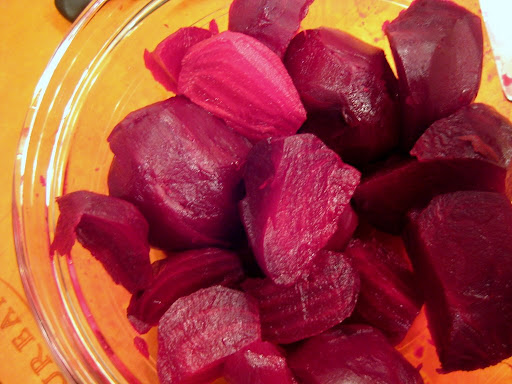
I was on the phone with my mom and we looked up ways of cooking the beets without using the oven, because it was wickedly hot and humid out. She found instructions for microwaving them, and I decided to go against every instinct I possess and give it a shot. All I did was scrub the beets and cut off the greens about an inch up from the root, then put them in a pyrex baking pan (I have a smallish square one) and covered it tightly with saran wrap. I cooked them for ten minutes, then pulled out the little beets that felt tender and gave the big ones another ten. I then allowed them to cool far too much before I put on gloves and peeled them, which meant I was sweating profusely while clutching my cellphone to my ear with my shoulder and desperately trying to finagle the skins off (note: peel beets as soon as you can handle them without burning yourself; don’t let them cool). To top off this vision of grace and loveliness, I was wearing my ratty around-the-house clothes with a pair of 3.5 inch silver wedges that I’m breaking in for a wedding this weekend. Thank god I was home alone… Anyway, the beets looked like hell but tasted just fine.

I’d have to do a side-by-side test to see if the flavor is more concentrated in the oven, but honestly these tasted great dressed in a vinaigrette as a side dish.

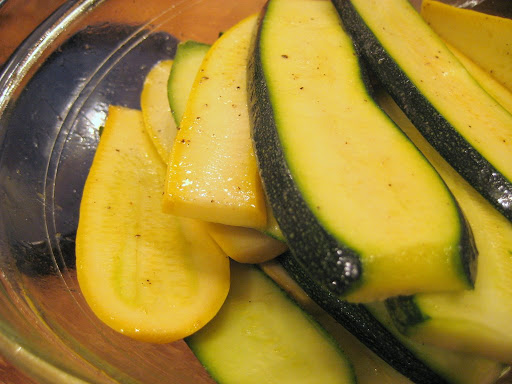
After I had recovered from the traumatic beet peeling endeavor, I hauled out my mandoline (slicer, not instrument), and cut up about half of the zucchini and summer squash into 1/4 inch ribbons, which I tossed with olive oil, salt and pepper:

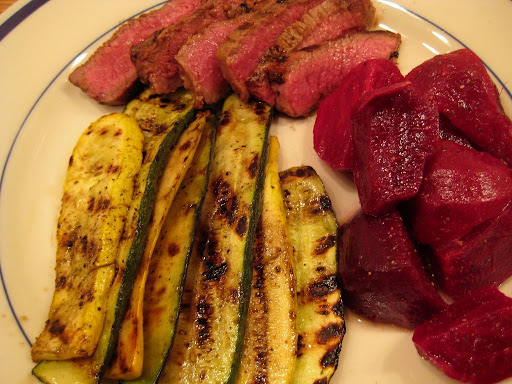
Ben grilled steak and the zucchini and we ate outside, desperate for a breeze:

Still to come: Dull zucchini spaghetti and my mandoline rage

CSA: Week three, still feeling green

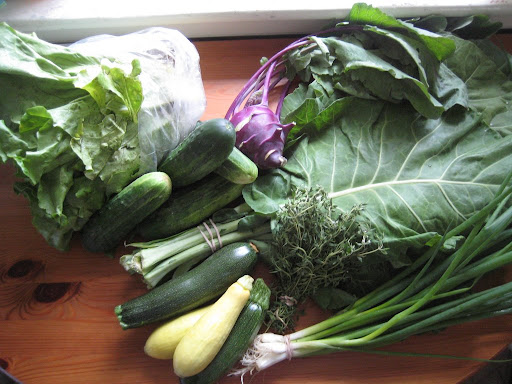
The third week (two weeks ago, ahem) injected a trace of color in with the greens:

-1 head romaine lettuce
-1 bunch collard greens
-4 small cucumbers
-2 zucchini
-2 summer squash
-1 kohlrabi
-1 bunch thyme
-1 bunch scallions

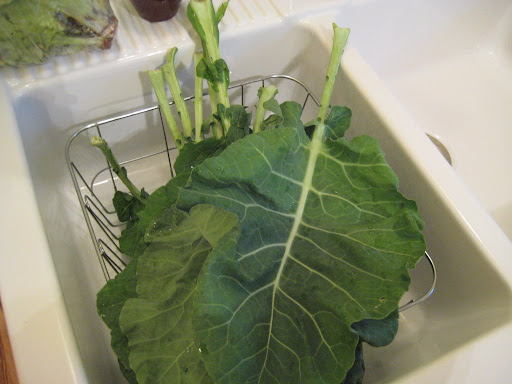
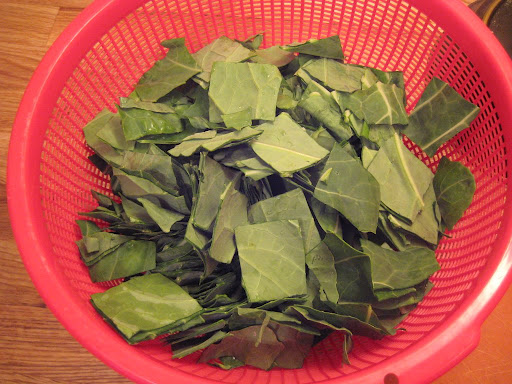
Have you guys cooked collard greens? I’m a Northern girl; I’d never encountered them before. They are HUGE–check out the bunch filling the entire drainer:

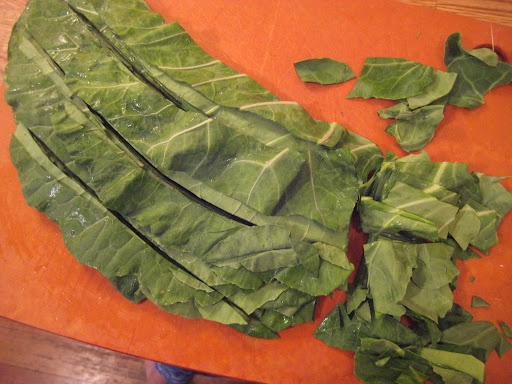
I didn’t feel like boiling them in a classic “mess o’ greens,” nd I didn’t have a ham hock or anything on hand for flavoring, so I looked up how to sauté them instead. I washed and cut up the greens:

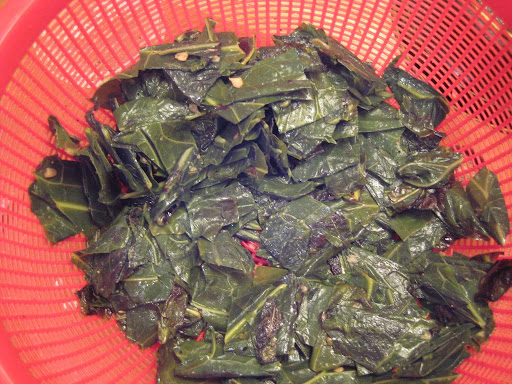
And then boiled them in salted water for 15 minutes or so.

I drained them and pressed the water out:

And then sautéed them with garlic and olive oil until they tasted good. (How specific!)

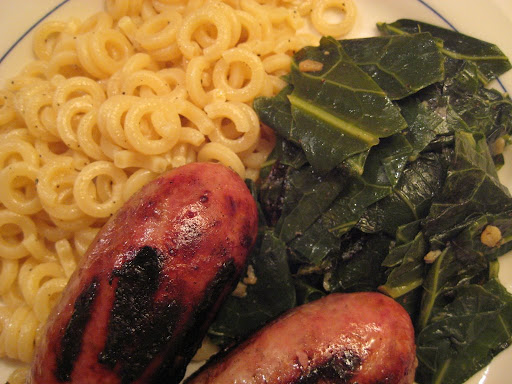
With a good amount of salt and pepper, they made a nice side dish with sausage and funny O-shaped pasta from Trader Joe’s:

I must say I prefer kale or chard, though.

Lovely things for blank walls

There are three things left to do in the kitchen:

-Install a hood
-Replace the lighting over the sink and in the middle of the room
-Hang art

I find the first two things totally overwhelming, but the third I can handle. Looking at the kitchen photos with the new shelf really made me aware of how bare the wall above the sink is, so I want to make that a priority. I have a whole pile of amazing prints and posters I’ve been buying from people like Keep Calm (the tea print), Amy Ross, Renee Garner of Wolfieandthesneak and Kate Bingaman-Burt. It’s an embarrassment of riches and I can’t seem to fit any of it in normal-sized frame (except the Amy Ross Manshroom, which is just languishing in my office waiting to be hung up).

I got the Kate Bingman-Burt and Renee Garner stuff just this week and both ladies sent along lovely little surprises with my purchases. I thought I’d post some photos since I was charmed.

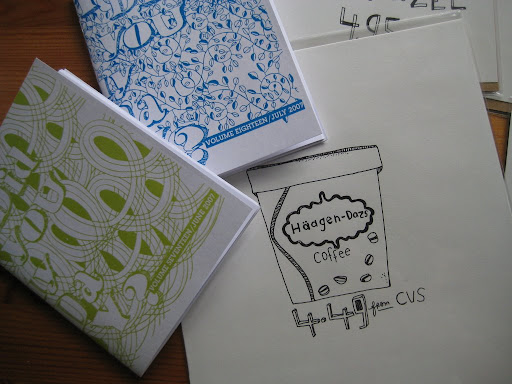
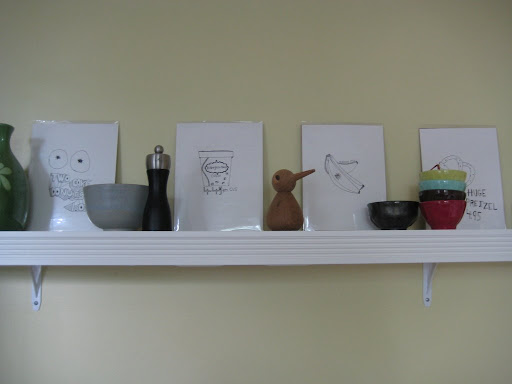
From Kate I bought four of her “Obsessive Consumptiondrawings, of things we like to eat. (The bananas are for Ben only. Yuck.) She is moving to Portland, OR as we speak and was having a moving sale in her Etsy shop. She included two issues of her Zine, which chronicles a purchase every day, each month. The zines are tiny and so fun and charming, I really enjoyed them.

For now I’ve propped the wrapped drawings on the kitchen shelf–once I frame them they may still live in the same place! Or I might try to hang them low under the shelf; not quite sure.

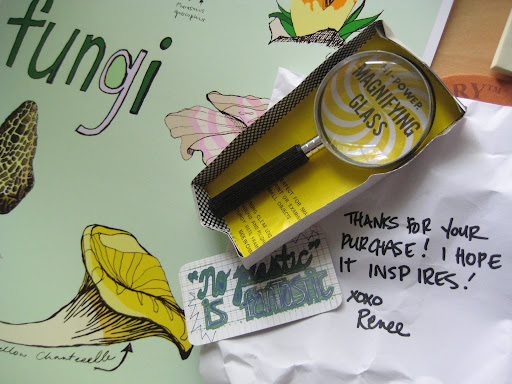
Renee really surpassed herself with darling packaging. I was a doofus and ordered the posters seperately, just far enough apart that she had to send them in two tubes (I’m sorry!). The first poster was the Fungi one I’ve been wanting since before Christmas. She sent it with a magnifying glass!! Plus a “No Plastic is Fantastic” fact card.

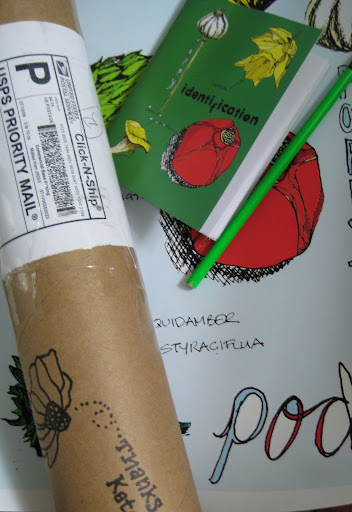
The second poster, the “pods” print, came today, and tucked inside was a little sketchbook with some of Renee’s drawings on the front, and an awesome lime green pencil. (Plus a nice note inside the sketchbook.)

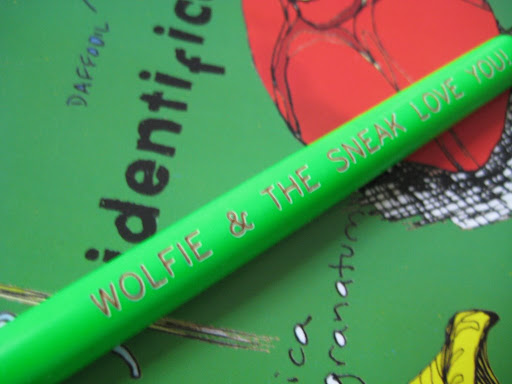
(It was hard to photograph the funny pencil, but here’s my best attempt. It says “Wolfie and the Sneak Love You” but WordPress has started cropping my photos for me, so part of it is cut off.)

I can’t express how much I love Etsy; once I get around to framing everything (sigh) my house will be packed with art by people I’ve gotten to interact with, instead of random impersonal stuff. I was on the phone with my brother when I opened the new poster, and he said, “Etsy is sort of the CSA of art, isn’t it?” I think he hit the nail on the head!

More food soon, I promise…

The workers’ reward

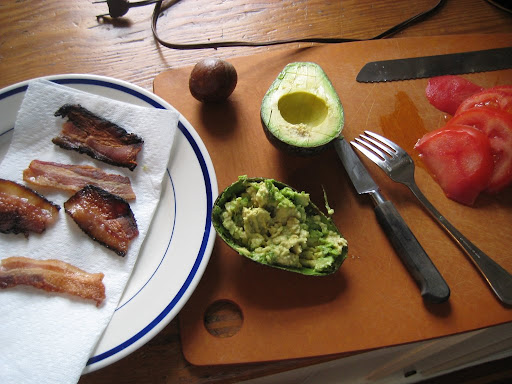
Hard work deserves a delicious lunch. In contrast to past periods of serious work around the house, when random leftovers were all that was on offer at lunchtime, I had actually laid in provisions this time:

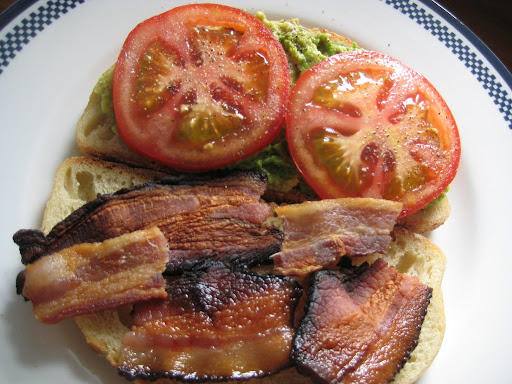
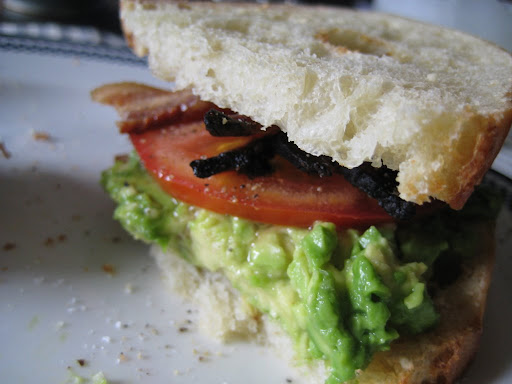
Mmmm, bacon, tomato and avocado sandwiches.

I mashed up the avocado because I hate when the slices come shooting out the other side every time you take a bite. This worked somewhat better but it was still messy–mashed avocado definitely works best as a solo-open-faced sandwich component.

Just what a pair of hungry shelf-hangers needed!

Also, for the record, Ben was really proud of how much fruit he managed to squeeze in with his cheerios on Sunday morning. Banana, blueberries AND a peach. It took some seriously careful negotiation to get started eating without a catastrophe:

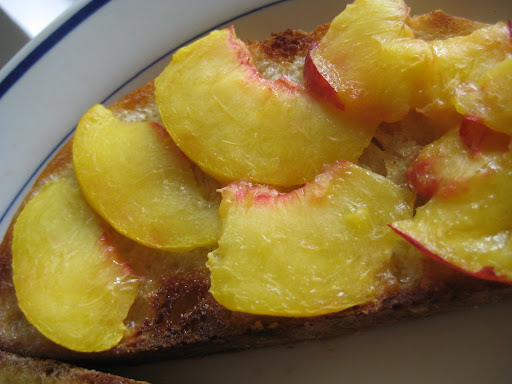
I stuck to my peach sliced up and broiled a bit on some buttered toast:

Much delayed kitchen progress

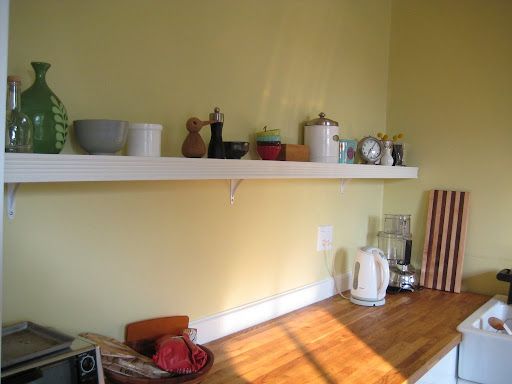
Last time we checked in on the kitchen, I hadn’t bothered to post a photo with knobs up on the cabinets. We did actually take care of that back around Thanksgiving, but since then there has been little progress on the final few things to do in the kitchen. But sparked by I don’t know what last week, Ben and I spent Friday and Saturday gathering the goods and installing the long-awaited shelf above the counter! What better way to spend the Fourth of July than at two Home Depots? And how about a solid 12-hour day of work in the kitchen on a summer Saturday? (It was gray out, actually, which helped.) In addition to building the shelf, installing the brackets and attaching the lighting, we also painted all the trim in the kitchen, including the windows (argh), and I painted that magnetic board in my office.

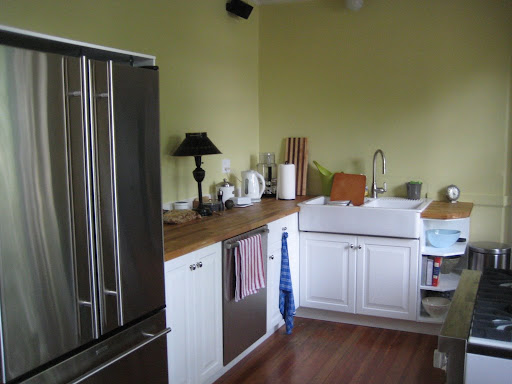
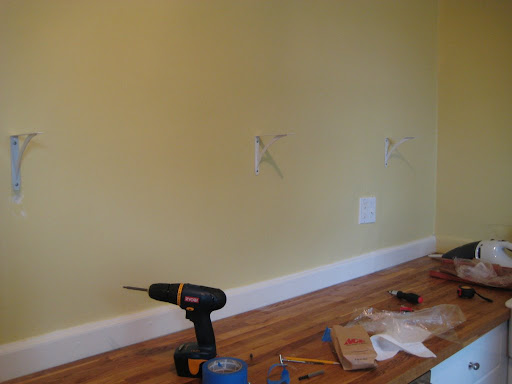
So here is the kitchen on Friday:

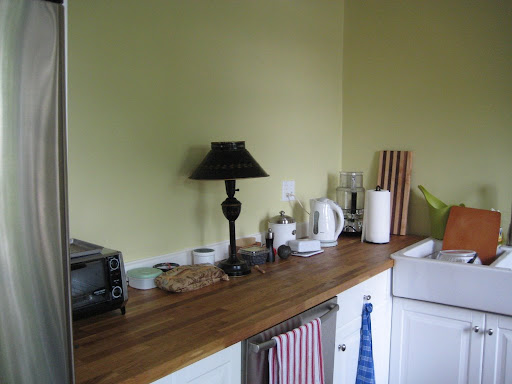
A little more detail on the cluttered, cluttered counter:

To recap the difficulty that had delayed this little endeavor, our walls are 107-year-old horsehair plaster over lathing. They are not in great shape, and of course the plaster/lathing makes it nearly impossible to use an electronic stud-finder to locate the studs. I was worried that we would bring down the whole wall if we did the shelf ourselves. But some (lengthy) internet research on Friday led me to the discovery of old school magnetic stud finders, which are basically a little plastic bubble containing a strong magnet attached to a little plastic rod. You slowly, slowly move the doohickey along the wall, and when it is over a nail (attaching the lathing to the studs!) the magnet straightens out the plastic rod, pointing the way to the stud. We acquired one and over the course of about three laborious hours I mapped out the studs over the counter. It’s a slow process because you aren’t scanning for a nice big chunk of two-by-four (or thicker, one hopes), but instead for a tiny nail somewhere deep in the plaster. I found that we were on about a 16-inch center, and scanned up and down to find at least 4 or 5 nails on each stud, then picked a rough center line through the wavering dots to aim for.

Whew, that was long-winded, but maybe it will be helpful to other old-house owners on the interwebs.

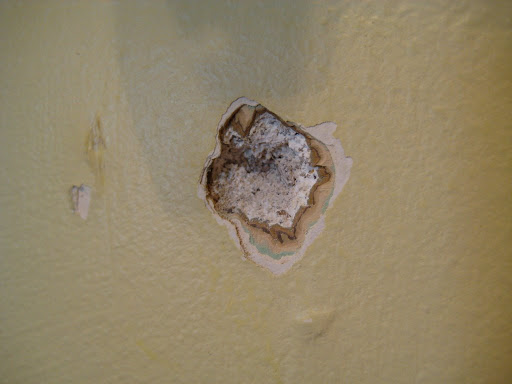
Anyway, we bought an 8-foot pine board, 8 inches deep, for the shelf, and a 2.5 inch deep trim piece (in two pieces) to make a lip to cover the lights. two two-light and two three-light linkable xenon light strips. Three metal brackets and lots of #8 screws. We drilled pilot holes for the first two bracket screws, and Ben started to put the screw in, drilling it into the apparently-petrified stud (which I had accurately located, hurray!). The screw. broke. The drill skipped off the (flat-head; HD didn’t have phillips in the right size of wood screws) screw and into the wall:

Sigh. (But check out all the old paint colors!)

But we remained calm! Ben went to the local hardware store, where they had a much better selection of sturdier screws, and he got a longer drill bit for the pilot holes. From then on it was fairly smooth sailing.

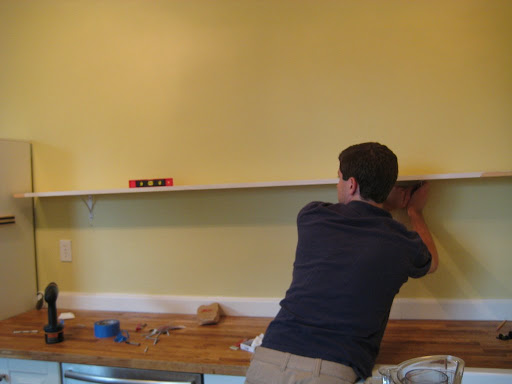
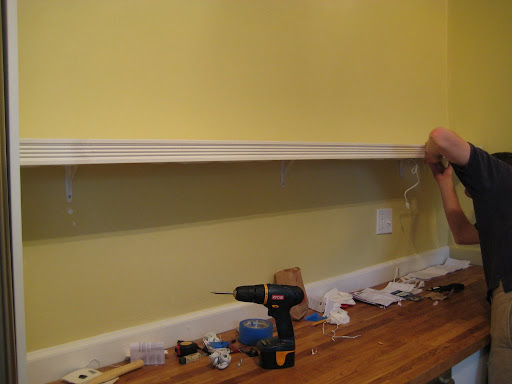
After the first bracket we figured out where the others needed to go to be level:

Brackets up! And sturdy!

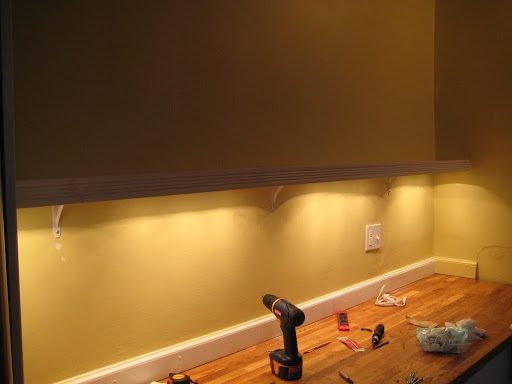
We primed, painted and assembled the shelf pieces, and once they were dry we attached the lights to the bottom:

Put the shelf in place and spent a long time messing around to get the lights strongly in place and the wires hidden:

Ta da!!

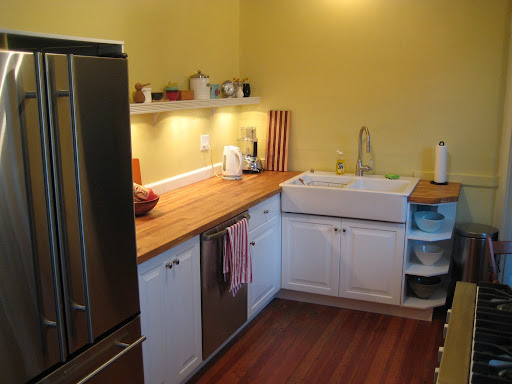
A little patching/painting action on that ding in the wall; another coat of paint on the shelf and trim, and we’re in business:

I don’t have the right mix of stuff on the shelf, but at least things are off the counter!

Hurray!

Scapes!

Scape scape scape. It’s like a typo. I keep typing “ramps,” but that’s….not what these are.

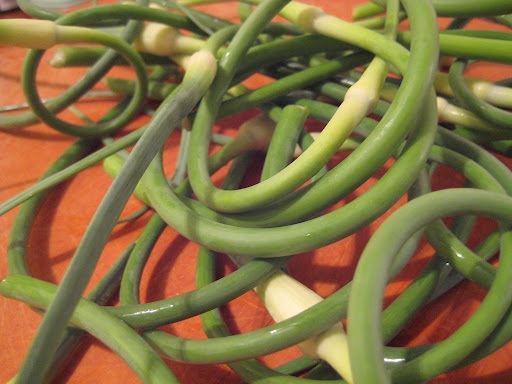
Scapes are the tops of young garlic plants. From what I’ve read, they are trimmed off to encourage the plant to put energy into the bulb, rather than the flower. They have a mild flavor, slightly garlicky but more like a dense scallion.

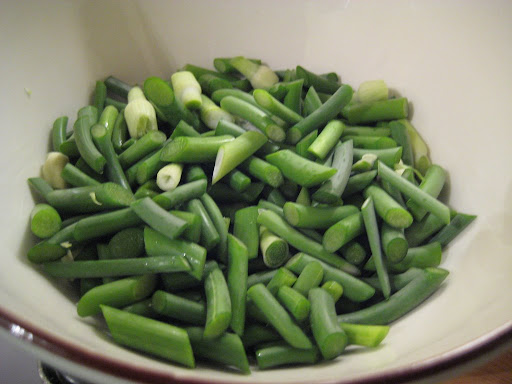
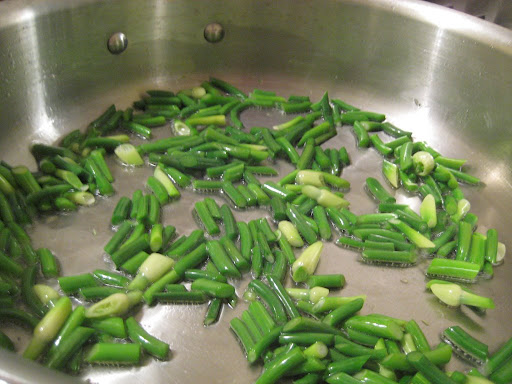
When Tom stayed over the night before he went back to Oregon, we finally used my bag of scapes in a couscous to accompany some Korean-Style steak from Trader Joe’s. I chopped them up, which is time-consuming since they all curl different which-ways, so you have to do one or two at a time:

I sautéed them in peanut oil over medium-high heat until they were tender (this takes a while!)

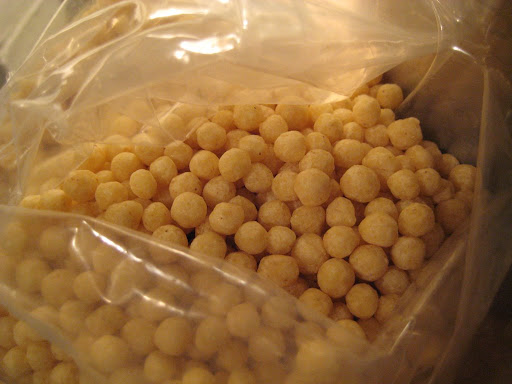
Meanwhile, I cooked the couscous, which was even bigger than pearl/Israeli couscous, and appeared to be hand rolled. I bought it at Christina’s spice shop in Inman Square, in an unmarked plastic bag.

It had an interesting texture–slightly chewy, slightly grainy, in a good way. It almost felt like there was semolina in it, or something?

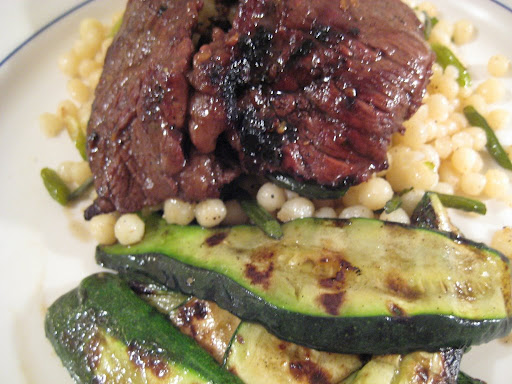
When it was cooked I sautéed it with the scapes for a few minutes, trying to get a nice browned exterior on some of the pearls. That didn’t really work; they just stuck–I have to stop trying to do it, but the image in my head is such a tasty one! It was still pretty good:

I had Tom slice up the baby zucchinis from the CSA into ribbons, and he grilled those (coated in olive oil, of course!) and the steak. I won’t buy that pre-seasoned steak again; the texture was great but the marinade was too sweet for me. Still, this dinner came together very fast and was quite delicious! And in real life it wasn’t blurry. Sigh.
UGH. On an unrelated note I just noticed that all of my photos that were posted at Shutterfly are now showing up as tiny thumbnails in my blog archives. I went and looked and they changed their systems–looks like if I update the image source links I’m ok, but otherwise it only shows a thumbnail. Annooooying.

Quick question

A quick survey: I have painted a large magnetic-paint board in my office, and am trying to decide whether to paint it over with black chalkboard paint, which would leave it looking roughly as it does now, but w/out messy painters tape, or with paint slightly different from the current shade of the office wall, probably a touch darker. Any opinions?

(Excuse yet another crap photo…)

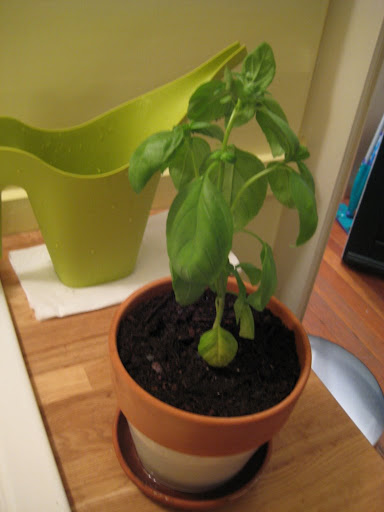
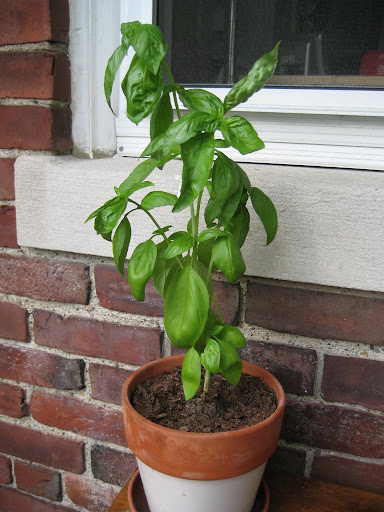
We spent all day yesterday working around the house–more to come soon! Meanwhile, for Germi, who asked after my little basil plant, last seen after being replanted a couple weeks ago:

It’s thriving–my mom also said to stop watering too much, and it seems very happy….so far!

CSA: Week two, fun with chard

Aaaand once again I’m a week late.
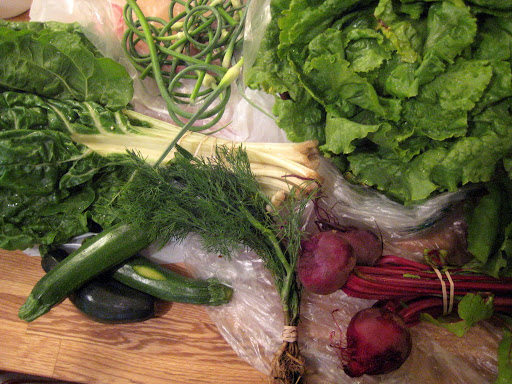
Week two CSA contents:

-1 bunch chard (green)
-3 medium red beets
-1 head lettuce
-4 oz. garlic scapes
-8 oz. summer squash/zucchini
-1 bunch dill

Tuesday night I stopped at Whole Foods after the CSA pick-up and grabbed the makings for a semi-homemade pizza. They sell bags of fresh dough, all ready to bake. I also got some mozzarella and a couple tablespoons of an artichoke-garlic spread from the antipasto bar. (I find that there are frequently useful little things in those!)

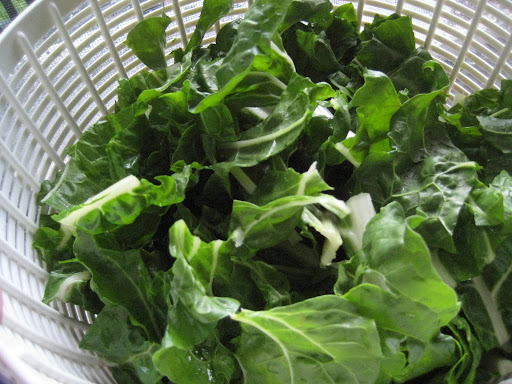
At home I spent ages washing greens, then I cut up:

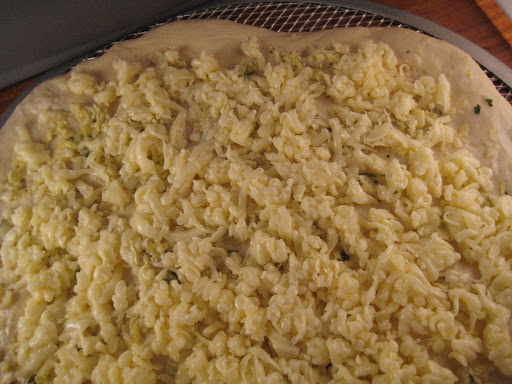
…and sautéed the chard and set it aside. I rolled out the dough and brushed it with olive oil, then smeared the artichoke dip around and put on the cheese, lovingly grated by Ben. (“It. is. sticking. Why is it clumpy? Why?”–it was a humid night and even putting the cheese in the freezer to firm up didn’t do the trick.)

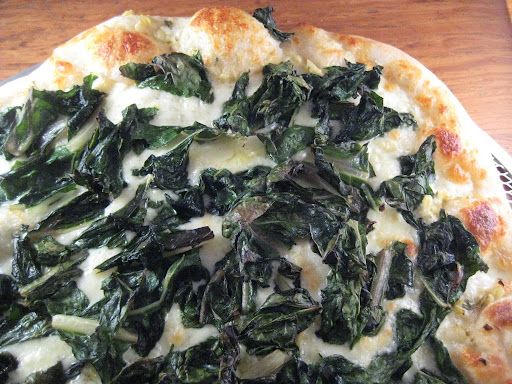
I baked that (on the highest heat below broil; somewhere north of 500 degrees) until the cheese started to bubble, then pulled it out and added the chard, and baked until it seemed done. Precise, no?

All in all it probably took about 10 minutes longer than throwing a frozen pizza in the oven and it was *delicious.* I will likely be doing this a lot this summer, and experimenting with grilling them as well.

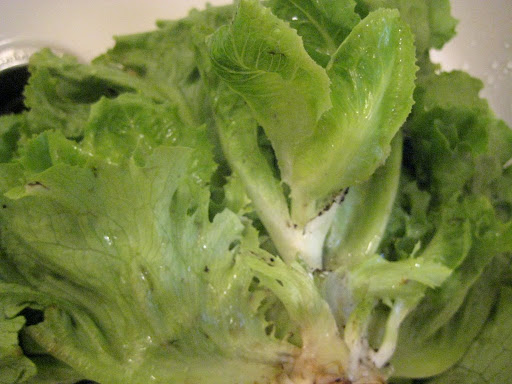
We finished with a salad made from the lovely tender lettuce. For some reason the head this week had loads of little baby lettuces (clones? mutants? they were delicious so I don’t care) clustered around the base:

Eee! Tiny tiny lettuces! Adorable. *Munch* We both commented on how tender and delicious the lettuce was, eaten within 24 hours of harvest! And not to be all philosophical, but there’s something appealing to me about washing mud off the lettuce because the farm was hit by the same thunderstorms that hit us here, too.

Coming soon: Cooking scapes with Tom!

freelance writer