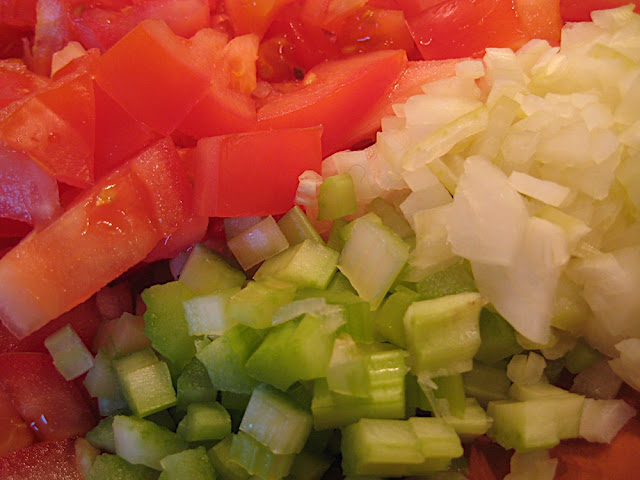
I was in Oregon for a week to visit my parents and go to my cousin’s high school graduation (yay!), and I was going to be in the air en route from Salt Lake to Boston when the hour of the first CSA pickup rolled around. So Ben went. He also took lots and lots of photos of all the vegetables before washing everything* and putting it in the fridge. Thanks, honey!
So! Week 1, 2009:
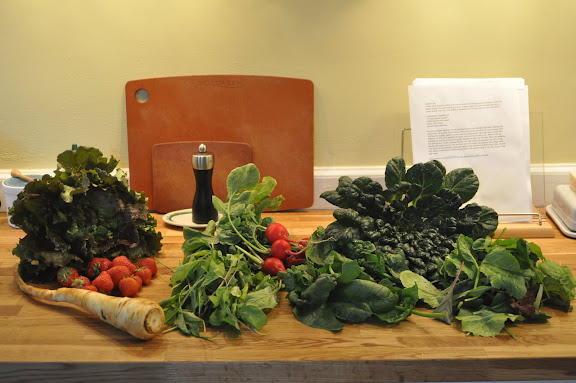
-1 head of lettuce
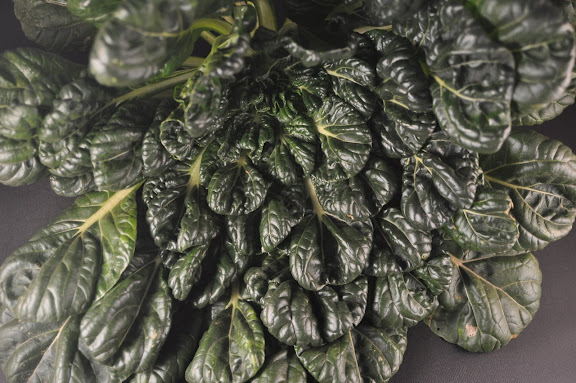
-1 head tatsoi
-Mesclun
-Small bunch of arugula
-Very small amount of large spinach leaves
-1 bunch radishes
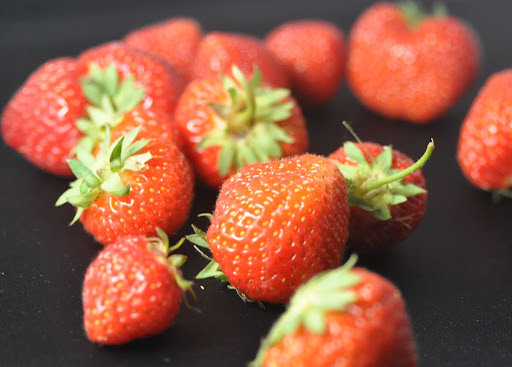
-1 pint strawberries (!)
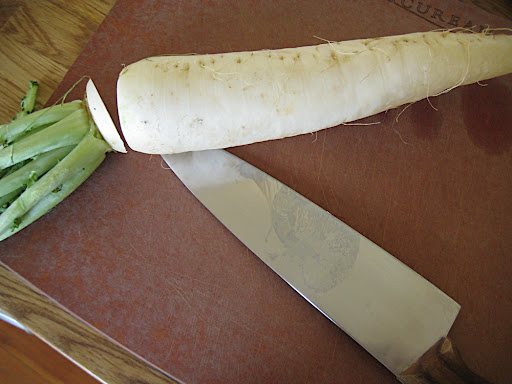
-1 parsnip (Did he overwinter in the root cellar? Does he know I hate parsnips? Poor thing.)
Ben took beauty shots of many of the items, so let’s admire the strawberries:
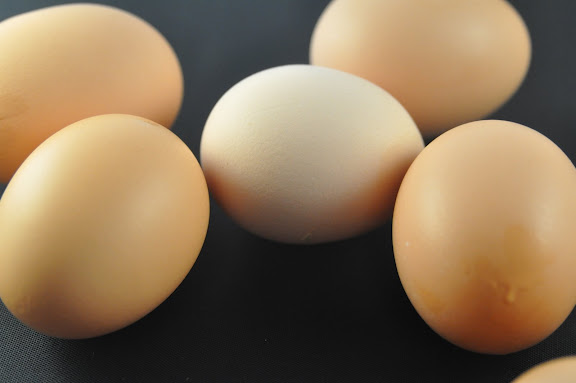
And an extremely exciting** development at Stone Soup Farm this year was the acquisition of lots of chickens! So we got an egg share in addition to our veggies:
Later in the week I used the tatsoi in a simple stir fry with chicken. It would have been even simpler if the greens weren’t quite so organic, because it took me ages to get them completely free of the aphids and little hard-shelled bugs clinging to each leaf. But I would rather clean off pests than eat pesticides.
Tatsoi is an Asian field mustard variety that looks, to me, like a wedding bouquet:
While I cleaned the greens I marinated a couple chicken breasts in soy sauce, grated ginger and minced garlic. I’d sliced the chicken against the grain, which gave it a nice texture. (I’ll spare you raw chicken photos today.)
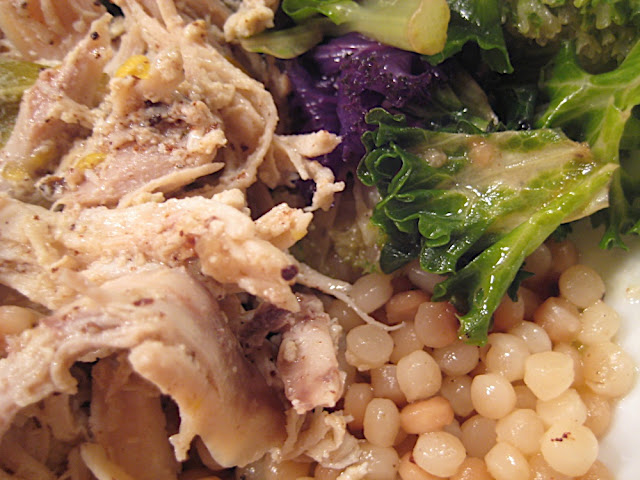
Then I sauteed the chicken in two batches in my wok. The strips were thin and cooked really fast; at the end I added in the greens and cooked them very briefly, until they wilted, and served the whole thing over sticky rice.
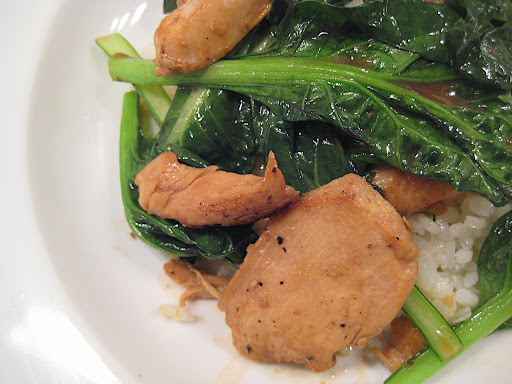
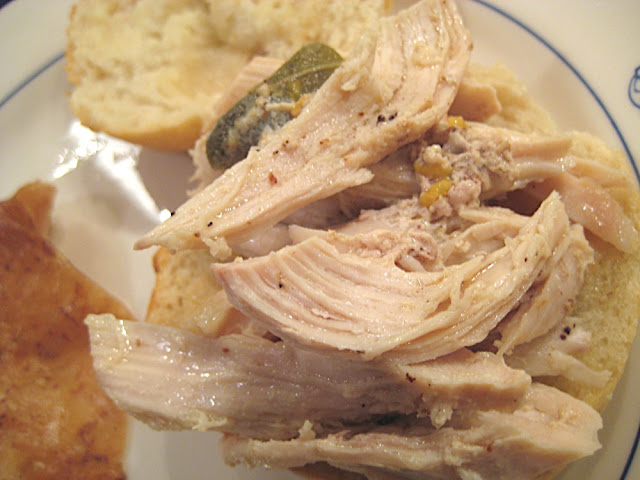
The chicken looks dry in that photo, but it wasn’t, actually. Considering that rice and chicken are the two things I’m not comfortable cooking, this came out remarkably well.
*While rewashing the many, many aphids off the tatsoi I explained to him that dashing the greens under water for a second doesn’t do the trick. Also that it’s better to just wash everything right before you use it. But I appreciated the effort!
**Eggstremely eggciting!
(Help.)
—
In other news, I don’t normally talk about books here but… whyever not? Last night I finally read The Guernsey Literary and Potato Peel Pie Society, and it was grand. Lots of fun. I adore epistolary novels (must be the sensation of eavesdropping? And maybe the slight mystery of jumping into something already in progress and getting to know the characters in dribs and drabs), and now I want to reread 84, Charing Cross Road (which is actually not a novel; they are real letters) and Ella Minnow Pea. I was crushed when I first visited London and found that 84 Charing Cross Road is now a Pizza Hut or something similarly hideous. Anyway, if you enjoyed The Guernsey Longest Title Ever, you might check out those two: 84, CCR is the post-WWII correspondence between a writer in NYC and a bookseller in London (similar content and tone!). Ella Minnow Pea is an extremely funny/odd little book of letters by residents of an imaginary island off the coast of South Carolina, where the alphabet is being gradually outlawed by the government as letters drop off a statue of the island’s founder, the man who came up with the “quick brown fox…” sentence. Hee.
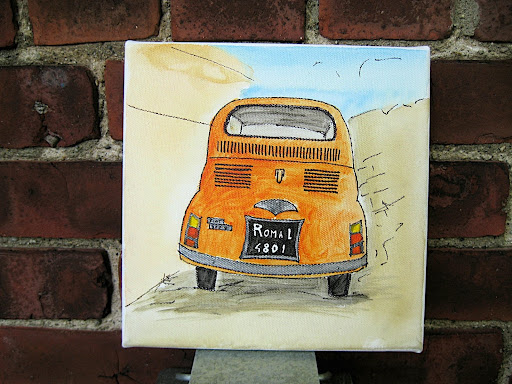
Oh, and I also painted a little canvas based on one of my photos from Rome. I’m trying to paint the way I sketch in my travel journals; looser and less worried about perfection. It’s in my Etsy shop!