Category Archives: Recipes

CSA: Week two, fun with chard

Aaaand once again I’m a week late.

Week two CSA contents:
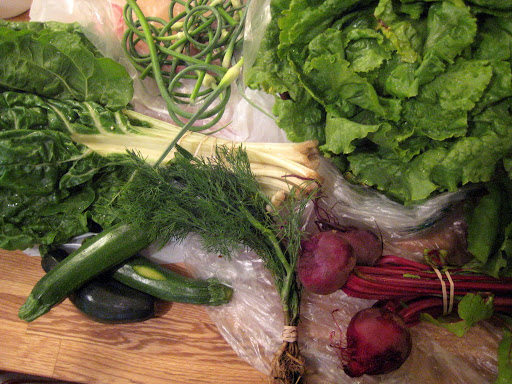
-1 bunch chard (green)
-3 medium red beets
-1 head lettuce
-4 oz. garlic scapes
-8 oz. summer squash/zucchini
-1 bunch dill

Tuesday night I stopped at Whole Foods after the CSA pick-up and grabbed the makings for a semi-homemade pizza. They sell bags of fresh dough, all ready to bake. I also got some mozzarella and a couple tablespoons of an artichoke-garlic spread from the antipasto bar. (I find that there are frequently useful little things in those!)

At home I spent ages washing greens, then I cut up:
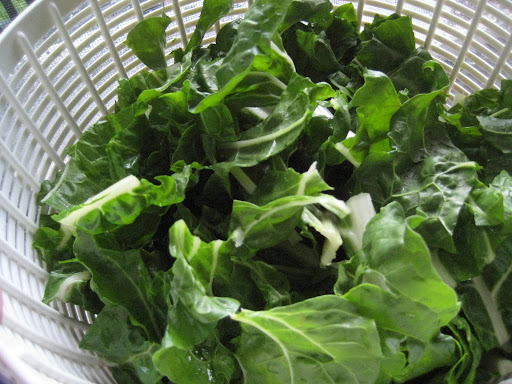
…and sautéed the chard and set it aside. I rolled out the dough and brushed it with olive oil, then smeared the artichoke dip around and put on the cheese, lovingly grated by Ben. (“It. is. sticking. Why is it clumpy? Why?”–it was a humid night and even putting the cheese in the freezer to firm up didn’t do the trick.)
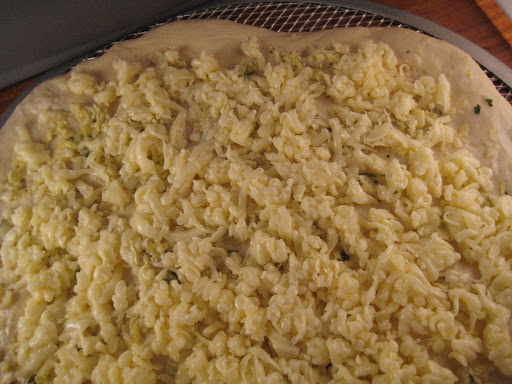
I baked that (on the highest heat below broil; somewhere north of 500 degrees) until the cheese started to bubble, then pulled it out and added the chard, and baked until it seemed done. Precise, no?
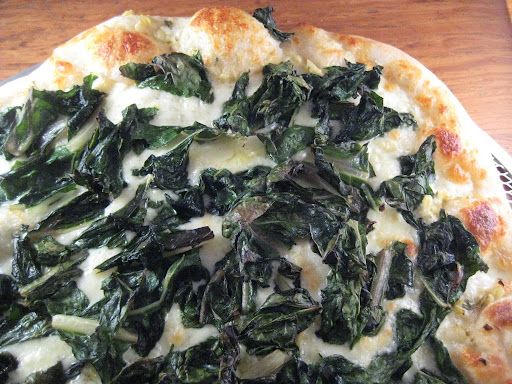
All in all it probably took about 10 minutes longer than throwing a frozen pizza in the oven and it was *delicious.* I will likely be doing this a lot this summer, and experimenting with grilling them as well.

We finished with a salad made from the lovely tender lettuce. For some reason the head this week had loads of little baby lettuces (clones? mutants? they were delicious so I don’t care) clustered around the base:
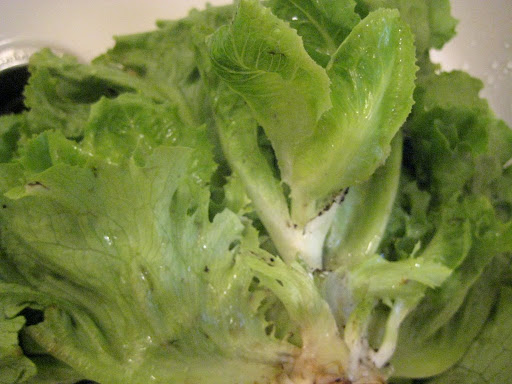
Eee! Tiny tiny lettuces! Adorable. *Munch* We both commented on how tender and delicious the lettuce was, eaten within 24 hours of harvest! And not to be all philosophical, but there’s something appealing to me about washing mud off the lettuce because the farm was hit by the same thunderstorms that hit us here, too.

Coming soon: Cooking scapes with Tom!

Pasta salad, Bridge-style

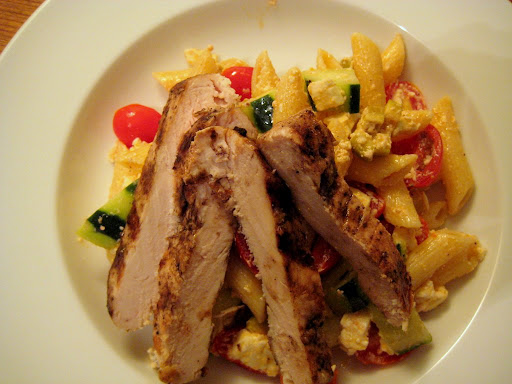
Last week on IM, Bridge (who is in London these days, and cooks all the time) mentioned the greek-style pasta salad she’d made, and how good it was. Then she mentioned it again. Then I remembered that I had olives and feta in the fridge, and a house guest to feed, so I picked up some cherry tomatoes, a cucumber and some chicken breasts. I had Ben grill the chicken while he was grilling burgers the night before (I marinated them in olive oil, garlic, salt and pepper, with some lemon juice towards the end (too early and it starts to cook the meat)), so on Tuesday night it was ready to go.

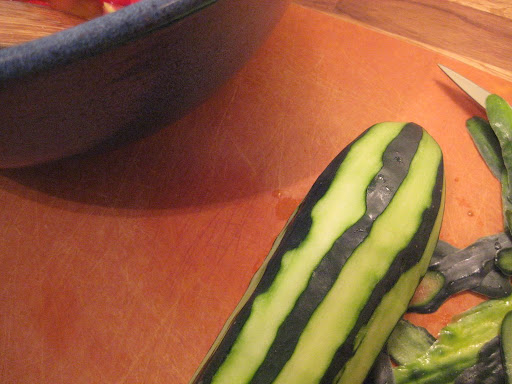
I peeled strips of skin off the cucumber and quartered it lengthwise, then use a spoon to scrape out the seeds before cutting it up.

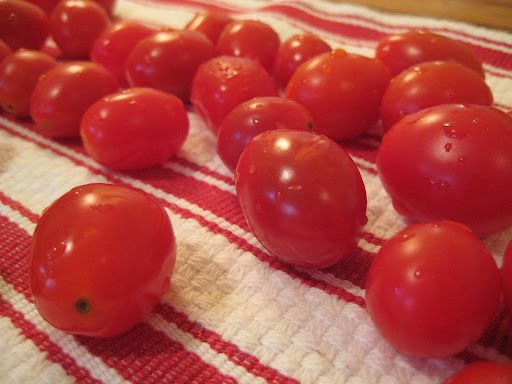
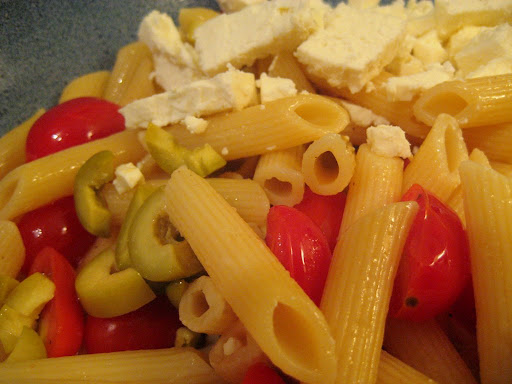
I cut up the tomatoes and put them with some olive oil and salt to start getting juicy while the pasta cooked, then added in the hot pasta, olives, cucumber and feta.

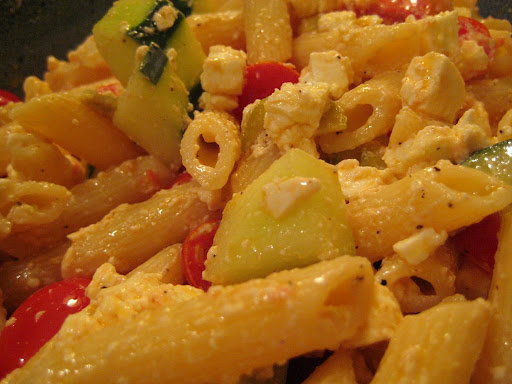
After combining everything I added lemon juice, salt and pepper until it tasted interesting enough. The feta softened and coated the pasta, which wasn’t pretty but tasted great.

Sliced up the cold chicken, laid it on top, and voila! Dinner in the time it took to cook the pasta.
Definitely a keeper–this was more interesting than the Lydia Salad (with just mozzarella and tomatoes and basil) and would be great for a picnic.

P.S. I am headed West again this weekend, to SF. I want to post about my first CSA box but I might not get to it. If not, have a great weekend!

Dolly’s (Almost) Crisp Toffee Bars

I have always read cookbooks, starting when I was in middle school or so. In my parents’ house there is a small built-in bookcase in the dining room where my mom always kept her cookbooks, so the easiest thing to grab to read over a snack or solo breakfast or lunch was a favorite tome. My usual pick was Barbara Tropp’s China Moon Cookbook (packed with hilarious stories in the sidebars, as well as fun recipes intros), but I also turned to Italy in Small Bites for mouth-watering descriptions of regional snacks throughout Italy, and to the various works of Maida Heatter for the most precise (and fascinatingly old-fashioned) recipes I’d ever seen.

Heatter, a master of dessert recipes, introduced me to the science of baking–one I’ve never really explored. I need to collect my own copies of her books and give dessert a try. My childhood was studded with Heatter recipes: My favorite was September Seventh Cake, which had a whipped filling, but my mom made the ultra-simple and (to adults–it’s spiked with rum) delicious Craig Claiborne’s Rum Chocolate Dessert for tons of dinner parties before she discovered crostatas. The brownie recipe (these are all from Maida Heatter’s Book of Great Chocolate Desserts, I think) is also killer.

But my very favorite cookies of all time are Dolly’s Crisp Toffee Bars. When properly made, the cookies, which contain no egg and LOTS of butter, are very thin and crispy, and have a shelf life of about a month. They’re sturdy and great for care packages, and perfectly toe the line between candy and cookie. I, of course, didn’t make them quite right, but we’ll get to that.

I found this recipe online–Mom, do you mind taking a quick look at the cookbook to make sure it’s right?

Dolly’s Crisp Toffee Bars
From Maida Heatter’s Book of Great Chocolate Desserts
Makes 32 bar cookies

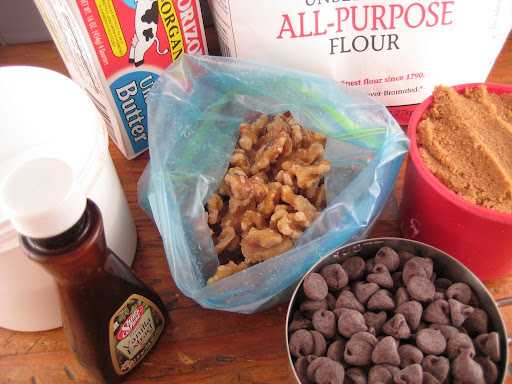
1/2 pound unsalted butter
1/2 teaspoon salt
1 teaspoon vanilla extract
1 cup brown sugar (light or dark; I used dark), firmly packed
2 cups sifted all-purpose flour
4 ounces walnut, cut into medium sized pieces (1 generous cup)
6 ounces semi-sweet chocolate chips (1 cup)

Adjust rack to the center of the oven and preheat oven to 350 degrees.
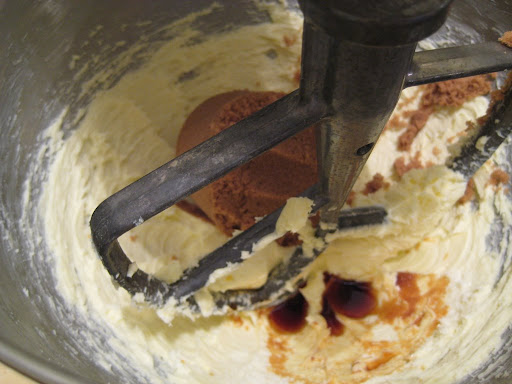
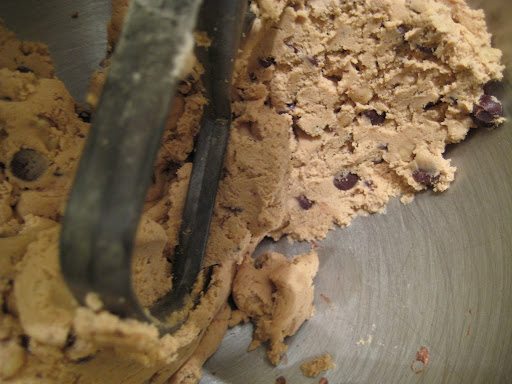
In a large bowl, cream the butter with a mixer.
Add the salt, vanilla, and sugar and beat well.

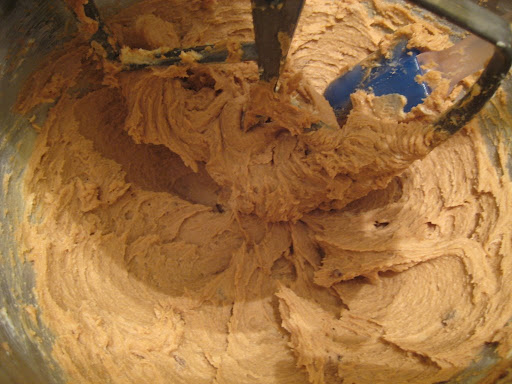
On low speed, gradually add the flour, scraping the bowl with a rubber spatula and beating until the mixture holds together.
Add the nuts and chocolate chips and mix well.

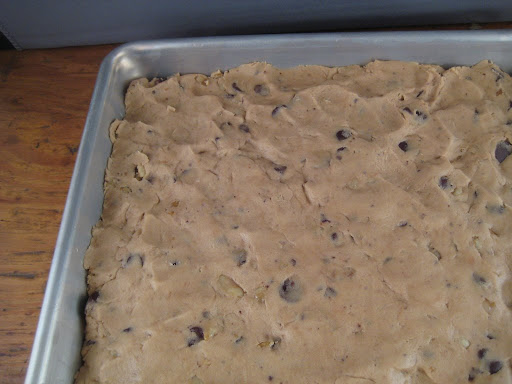
Spread the dough (it will be stiff) into an unbuttered 10 1/2 x 15 1/2 x 1 inch jelly roll pan. (This is where I went wrong: I don’t have that size pan so I used a quarter sheet, which is probably 9X12? Too small. I should have spread them in a half sheet; I could probably have even ignored part of the sheet and just not filled it all the way, since the dough is so stiff.)
With floured fingertips, press the dough firmly to make an even layer- it will be thin.

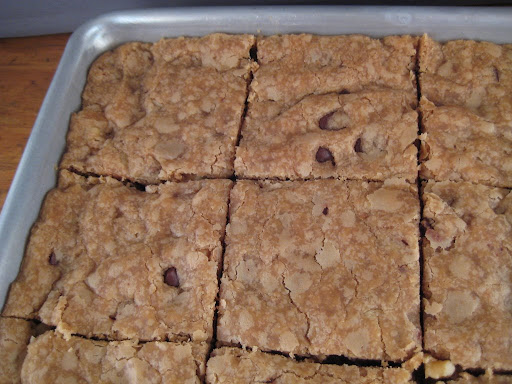
Bake for 25 minutes, reversing the pan front to back once to insure even baking. The cake will be golden brown. (I then didn’t compensate for the thicker dough by baking longer. Nope.)
Let cool in the pan for only a minute or so.
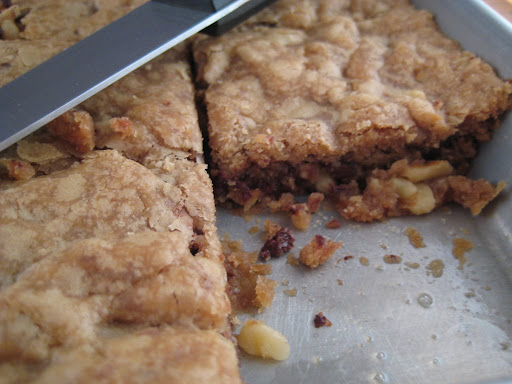
With a small sharp knife, cut into bars; let stand in the pan until cool.

Transfer the cookies to paper towels to dry the bottoms.
Wrap individually in wax paper or store in an airtight container.

Ok, so mine were just plain bar cookies–they never crisped up and got that toffee flavor or texture. I should have left them in longer. But next time I will make them properly thin and thus super crispy. Maybe I will do that this weekend. Or maybe not, since my 10 year high school reunion is a week from tomorrow and I suppose eating a sheet of cookies isn’t a great preparation method?

Super-easy snack food

Months ago I bookmarked a recipe on AT’s The Kitchn for oven-roasted chickpeas. Crispy! Salty! Healthy!

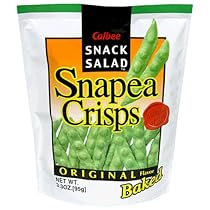
Last night I came home well before Ben was due back, and found myself rifling through the pantry in search of a bag of snapea crisps* I was sure were lurking there. I was wrong, and I found myself really wanting something besides salt & vinegar chips to snack on, so I finally pulled out a can of garbanzo beans and tried out the recipe.

Actually, “recipe” is a bit grand:

Crispy Chickpeas
-Preheat the oven to 400.
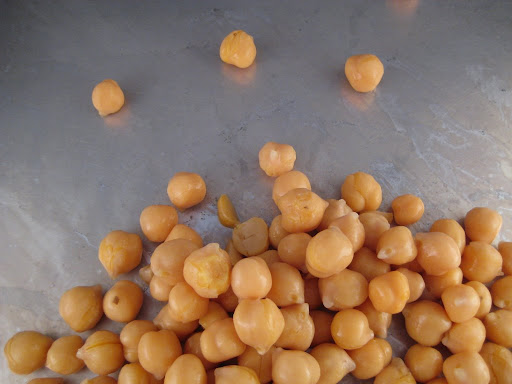
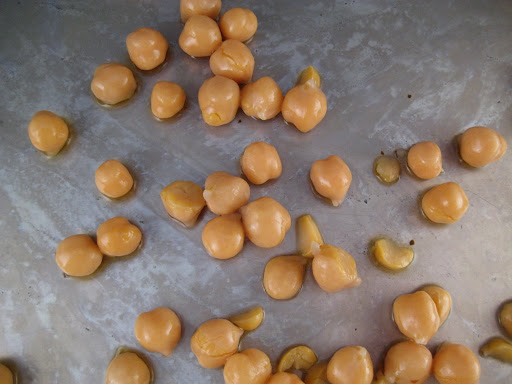
-Rinse a can of chickpeas (or two, if you’re a glutton like I am and you want enough to share) and blot dry (I actually skipped the blotting because I am lazy).
-Spread the rinsed beans on a cookie sheet (WITH SIDES, if you don’t want to spend the rest of your life fishing lost garbanzo beans out from under kitchen tables, shelves, etc.) and toss with a couple tablespoons of olive oil.

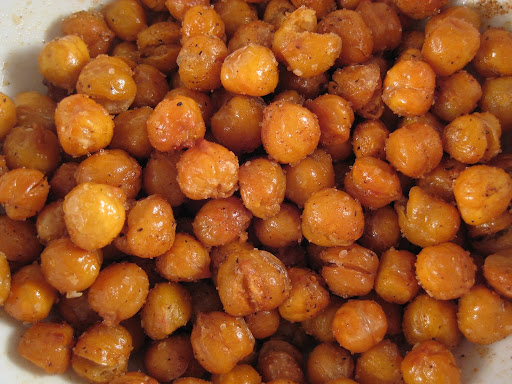
-Roast for 30-40 minutes, shaking every ten minutes or so, until the beans are crispy all the way through.
-Toss with salt and spices of your choice.
-Try to share.

I used a random jar of steak seasoning that I got at a Frankie & Johnnie’s Steakhouse event a while ago. The Kitchn used salt and garam masala. Next Time I might try something different, but they’re probably be good with plain old sea salt, too.

I could have roasted them an extra couple minutes; some of the beans were still a little soft inside. I didn’t mind the different textures, though–I’ll be doing this again as soon as I buy more cans of chickpeas. (By the way, I did manage to save about 12 beans for Ben…)

*You haven’t had Snapea Crisps? Dude. Ben thinks they’re gross but I can eat a whole bag at once, and I’m usually not a whole bag at once girl.

They sell them at both Trader Joe’s and Whole Foods, I think? And they taste just like snow peas, but crunchy and greasy.

Pork chops, redux, and the perils of cooking hungry

Last night it was 3 years since the day Ben proposed (aww!) and I vowed I would actually cook, since that has happened all too infrequently lately. Ben requested another round of crispy pork cutlets, and this time I was able to find the prescribed boneless pork loin chops, so I gave them another go. I also got snow peas and eggplant, thinking I’d make some slightly asian-inspired side dishes for a change of pace. Since I apparently only find recipes on the Everyday Food site lately, I searched for side dishes and scrolled down until I found a recipe for Spicy Sesame Eggplant.

Now, a factoid about me: My blood sugar sometimes bottoms out, and when it does I am a shaky, cranky wreck. It happens suddenly and what I have to do is eat some protein, as soon as possible, and then go on with my day. Last night I was starving before I even started dinner. I had a tiny sandwich for lunch and resisted snacking all afternoon, but then I didn’t start dinner until…I don’t know, 7:30? I was ravenous. And I had lots of big ideas about baking dessert while cooking dinner, etc. Anyway, Ben got home and mixed me a gin & tonic (good plan!) and I ate a couple potato chips but those didn’t help, and as the evening progressed I was absent-minded and very clumsy, to the point where Ben asked if I should leave the kitchen before breaking something or hurting myself.

So, the eggplant. Super easy. You cut up an eggplant into nice 3/4 inch thick logs, toss them in salt and pepper and then in a sauce made of lime juice, veg. oil, sesame oil, sesame seeds and some garlic-chili paste. Broil. La! Easy as pie! (Aside from the part where one of those tricky thorns on the eggplant top stabbed my finger and is still hanging out in there.) And look how pretty everything looks!

Pretty red sauce:

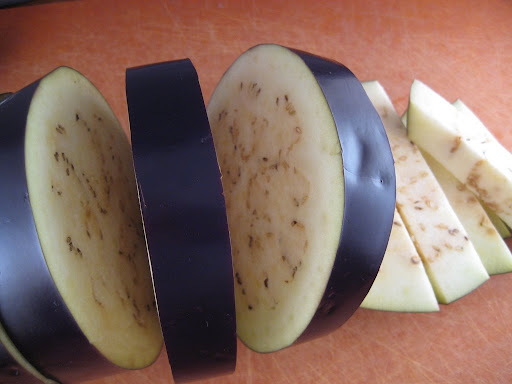
Artful eggplant slicing:

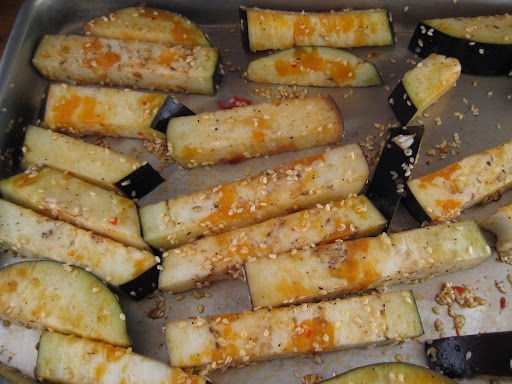
Nicely splotchy eggplant spears:

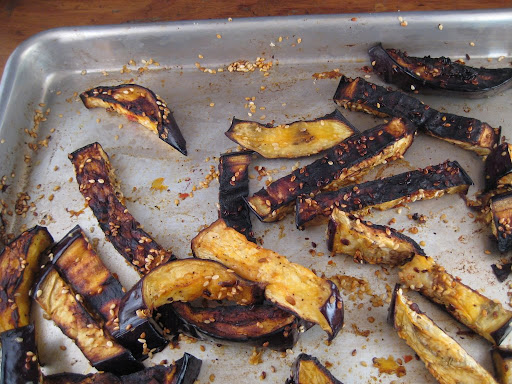
Horribly scorched eggplant shards:

…oops. So here’s what happened. I put the eggplant under our broiler on the top shelf, and a couple minutes later smelled scorching and moved them down to the middle. They were a little dark but ok. Did I take the pan out and flip the pieces over? Silly rabbit, of course not! I was busy creaming butter for cookies! 10 minutes later the timer rang and Ben asked if I’d heard it and I said “Yes, I’m going to leave them another minute” and then continued with whatever I was doing and about 8 minutes later I remembered the eggplant. Sigh. They actually turned out to be pretty tasty–if leathery-skinned (yum)–but Ben opted out and I ate the leftovers for lunch today.

Then I oiled the panko crumbs for the pork chops and tossed those in the oven. Didn’t set a timer. Remembered them just before they blackened–they were a VERY healthy tan, more like a heavy Mystic Tan than the result of a nice afternoon at the beach. Brown, really. Dark brown. Then I dropped the mixer bowl, which is when Ben asked if I needed to step away for a minute. I declined.

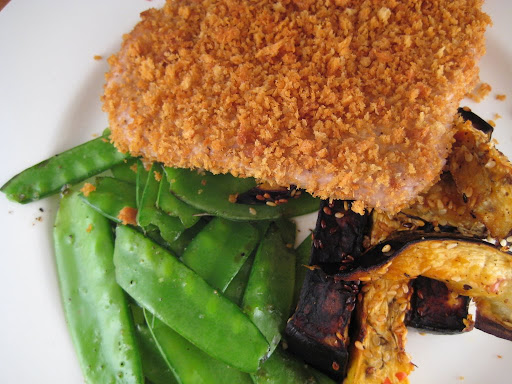
The rest of dinner went off without a hitch, luckily. I managed not to cook the chops to death. And prepping them was made much easier by having Ben on hand (I think he might have been babysitting me) to apply salt and pepper so I didn’t have to keep washing my hands between flipping them over. I sautéed the snow peas in a little vegetable oil, then tossed them with sesame oil, salt and pepper and they were very tasty. Still, I’m mad that I burned things. I almost never burn things, thanks to my crazy sense of smell. The usual exception is when I’m toasting walnuts in the toaster oven. Scorch City. In this case my nose failed me because there was already a scorching-eggplant stench from the too-close-to-the-broiler incident. Boo.

But this looks pretty good, right?

And I’ll post dessert later.

(Any less-putrid-than-usual lighting in the photos can be attributed to my use of the mini lightbox my uncle gave me for Christmas. It’s a little awkward to set up anywhere near my kitchen so I haven’t been using it, but last night I thought I’d add one more complication for my shaky hands and woozy head to deal with and set it up in the butler’s pantry. Fun!)

Distinctly un-springy

Here’s to pantry staples. Last weekend we had a neighbor up for a drink, and shortly before he arrived I realized we’d all probably want dinner and I hadn’t grocery shopped in at least a week. I scoured the pantry and the freezer and was able to patch together a quick risotto, which I cooked while the guys enjoyed second gin-and-tonics. I hadn’t made risotto in a really long time, but I love having it in my arsenal. If you have never made it, it’s so worth giving it a try–once you’ve done it a few times you won’t need a recipe and you’ll be ready to make an emergency dinner suited to casual company with whatever you have on hand!

I’m piecing this recipe together from memory–any basic recipe will get you started, and the theories are really simple!

Anything-You-Have Risotto
Serves 3-4
1 cup arborio rice
1/4-1/3 cup dry vermouth or white wine (if you have white wine already open)
2-3 tablespoons butter
1 shallot, diced
Chicken stock (probably 3 cups or so; have at least 4 cups on hand.)
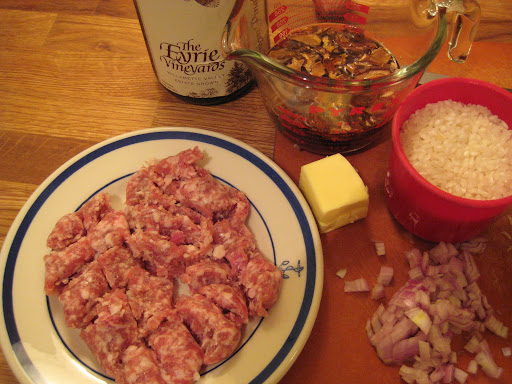
Whatever you want to put in your risotto–trimmed and cut-up asparagus, dried or fresh (sautéed) mushrooms, sausage, pancetta, etc.

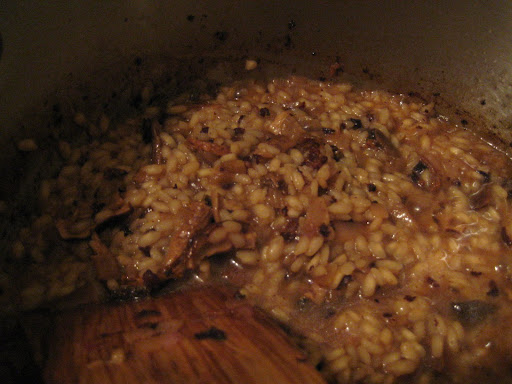
In this case I was relying on pantry elements, so I used dried porcini mushrooms, which I soaked in boiling water for a little while, then used the soaking water (poured carefully to avoid grit from the bottom) to supplement my stock. I rinsed the soaked mushrooms a few times because this batch is annoying gritty. Before soaking them I crunched the bigger mushrooms up a little bit so the pieces were uniform in size, but I probably should have left them bigger.

I also took two sweet italian sausages out of their casings and browned them (making them into small bits) until they were 95% cooked, then set the sausage aside. (Most times I brown a slice or two of pancetta at this stage, if I don’t have sausage around.)

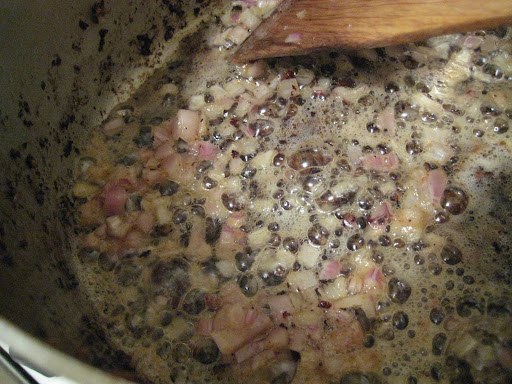
In the same pan where I’d browned the sausage, I melted the butter and cooked the shallot until it was soft and translucent. Medium heat, I’d guess. Scrape your spoon around to get up some of the nice browned sausage bits, if applicable.

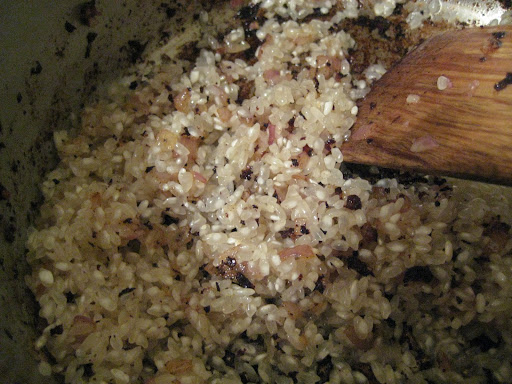
Pour in your arborio and stir it around to combine with the butter and shallot.

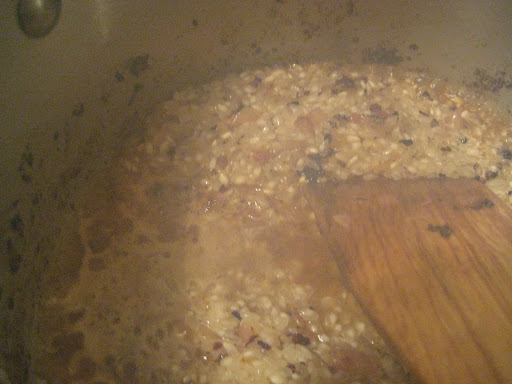
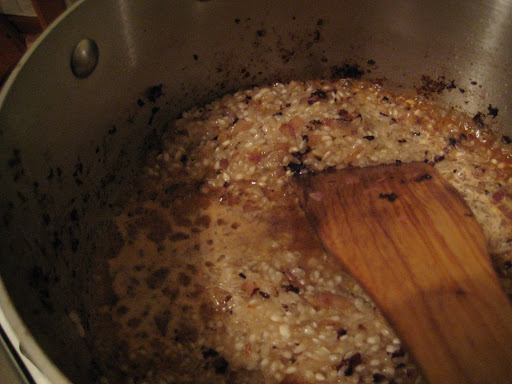
Pour in the vermouth or white wine and let it cook off, adjusting the heat as needed. If you’re using mushrooms and have some soaking liquid, add that once the vermouth is cooked off. This is when you’ll really be able to scrape up browned sausage goodness; it will release almost as soon as the liquid hits it. The liquids will make lots of steam so that you can’t take any good photos. I also added in the soaked mushrooms.

Try blowing on the steam and moving really fast–ah, that’s a little better.

(Seriously, I can’t believe I’m once again apologizing for godawful photos, but…sorry. Sigh.)

Begin adding stock about 1/2 cup at a time (though I go faster; I’m lazy!), stirring frequently to avoid sticking. Keep adding stock as it cooks away, until the arborio is cooked through.

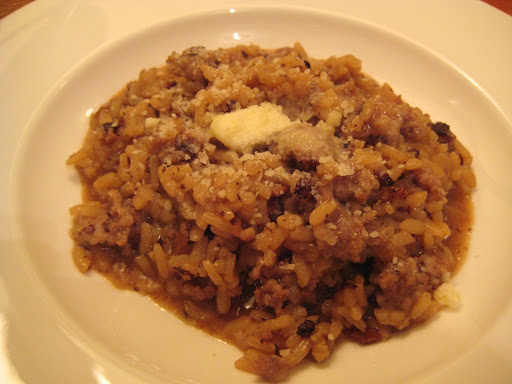
Towards the end, add in the cooked sausage, sautéed mushrooms, etc. If you want to add raw asparagus, that goes in a little earlier. Do not let it dry out, especially towards the end–add enough stock that the final risotto is creamy and has a bit of broth to it. Serve in heated pasta bowls, topped with a bit of butter and some parmesan cheese, if you have it around.

We had nice big salads (and watched The Office!) after the risotto. Yum. It’s definitely time to retire mushrooms and sausage for the summer, though, and turn my sights to asparagus.

Flank Hangar steak

So I bought a packet of flank steak at TJ’s a couple weeks ago and through a variety of circumstances was forced to throw it away instead of cooking it. I tried to buy more and they were all out, so over the weekend (more than a week ago now!) I stopped at Savenor’s, the fancy butcher in Beacon Hill and Cambridge, and picked up some hangar steak. Their flank steak was packed in 2-pound chunks, which they didn’t want to cut down, and when I asked about hangar (having enjoyed is very much cooked in the french style at Les Halles over the years) the guy said it would sub in well. I…don’t think that’s entirely true? Or maybe it is but the Savenor’s meat is just so much better quality and…more meaty that I was thrown off? But more on that later.

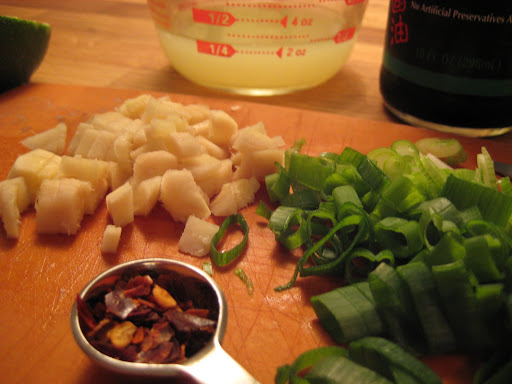
The recipe in question is another one from Everyday Food, Flank Steak with Lime Marinade. The marinade is dead easy–I love recipes where i can just sort of chunk up the ginger instead of bothering to dice it tiny and evenly.

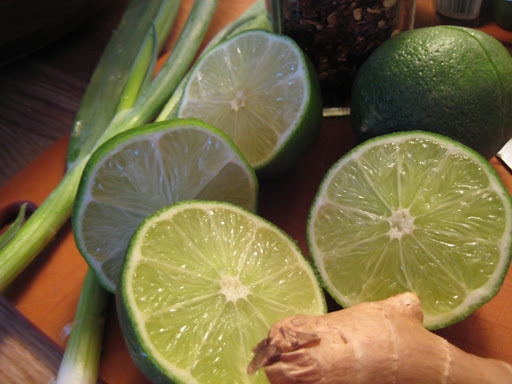
If this isn’t a summery group of ingredients, I don’t know what is:

I made a little less marinade than the recipe makes, since I had less meat. But in essence you juice a few limes and toss in diced ginger, red pepper flakes, some soy sauce and chopped scallions. Next time I will probably use garlic instead of scallions.

Put all that in a ziplock with your meat. Squish it around (seal it first!). Marinate for about an hour. Grill, rest, slice. So easy! Making the marinade takes about 5 minutes.

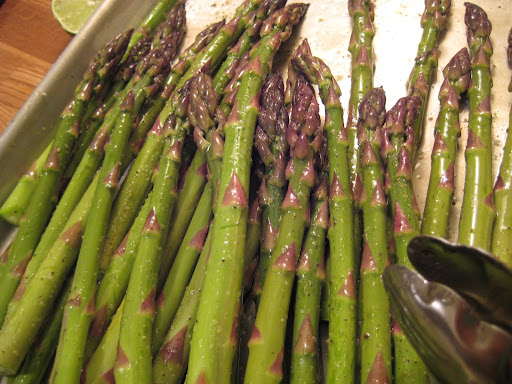
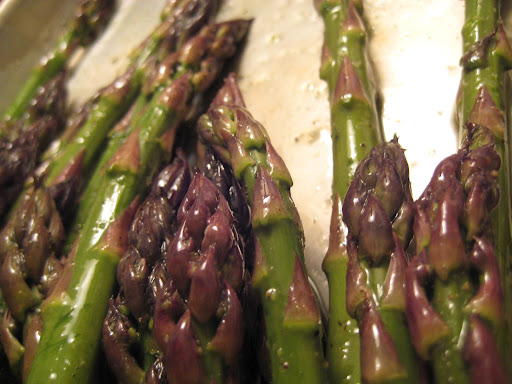
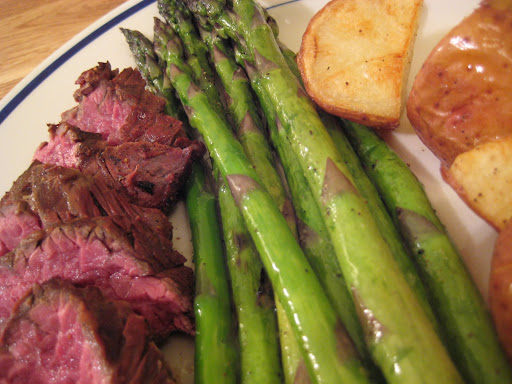
To go with the steak, we grilled asparagus. Clean the asparagus (snap off the woody ends; they snap right where they’re supposed to if you hold the end and the middle of the stalk and bend it), toss in salt and pepper and olive oil, grill to taste. Ben grilled it to his taste–it wasn’t quite charred enough for me. I just love asparagus. This was from New Jersey, and it was very tasty.

I also boiled/roasted a few red potatoes.

The meal was almost great, but not quite. The meat was a bit underdone, went back on the grill, and was still very rare for my taste. I think the hangar steak is also just too flavorful for this type of marinade–the meat and marinade didn’t work together as well as I’d hoped. Still, I want to keep trying these less-expensive beef cuts until I figure them out! (I do think I’d have been happier if it had been more medium-rare instead of rare. I microwaved leftovers at work the next day and they were delicious. Usually when I reheat non-braised meat it is overdone.)

Happy cabbage salad and crispy pork cutlets

Ever since my weekend in Hanover and Tom’s lovely dinner I’ve been considering that slaw he made. On Tuesday I started sifting through Everyday Food’s quick recipe database looking for something incredibly fast and easy that would go well with cabbage. I settled on pork, and found this recipe for “Crispy breaded cutlets,” using panko breadcrumbs.

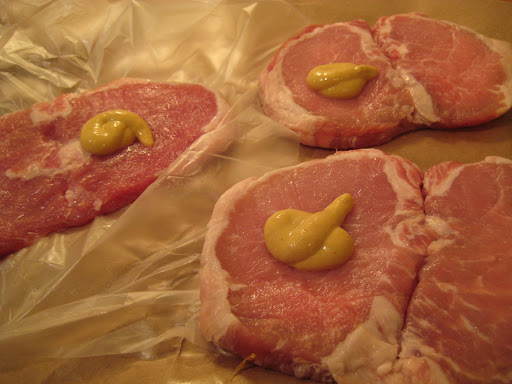
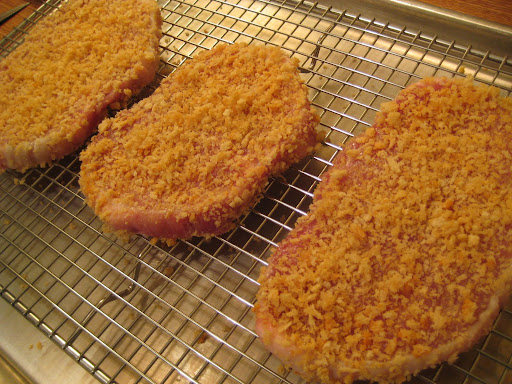
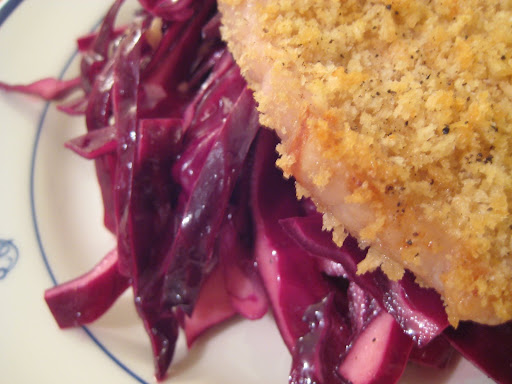
This was so, so easy. Instead of using an egg white to adhere the crumbs, you use dijon mustard, which flavors and moistens the pork in addition to helping the panko stick. I didn’t pound the cutlets quite thin enough, so there were some false starts getting them out of the oven, but overall this is something I’ll definitely do again.

Basically you pound boneless pork loin chops (I used butterflied boneless pork chops) to about 1/4 inch, rub each one with mustard, dredge them in panko you toasted with some oil, and then bake on a rack in the oven. Whee!

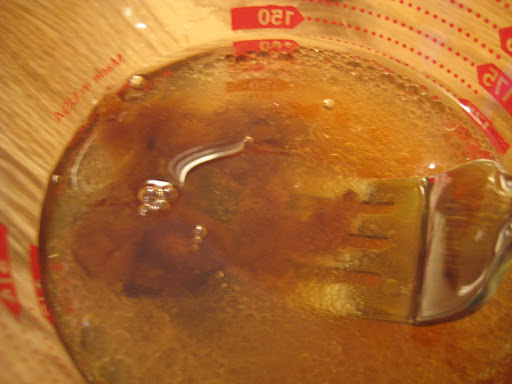
For the slaw, I made a dressing out of about 1/3 vegetable oil to 2/3 cider vinegar, with a healthy amount of brown sugar. I had about 2/3 of a cup of dressing for a huge bowl of cabbage, and I’d guess it had about 3+ tablespoons of brown sugar (plus pepper). I kept adjusting as I went so I don’t have exact measurements. You want a good balance between tangy and sweet; this seemed like a lot of vinegar but I kept adding more, dipping in a piece of cabbage to taste it, etc.

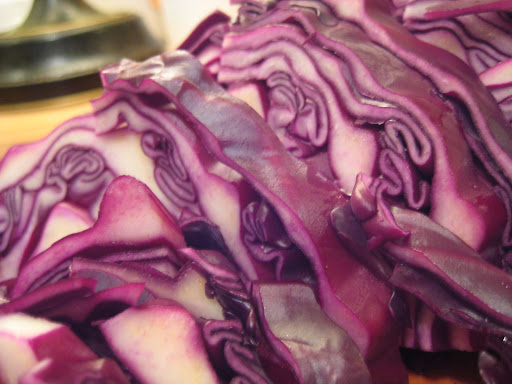
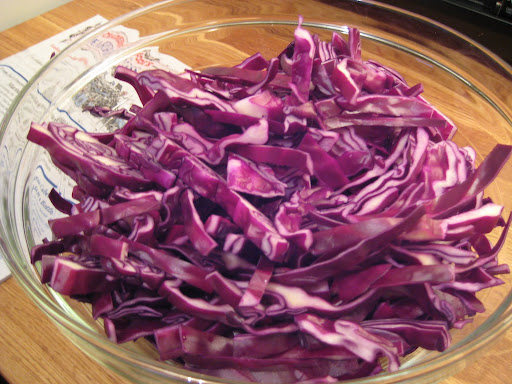
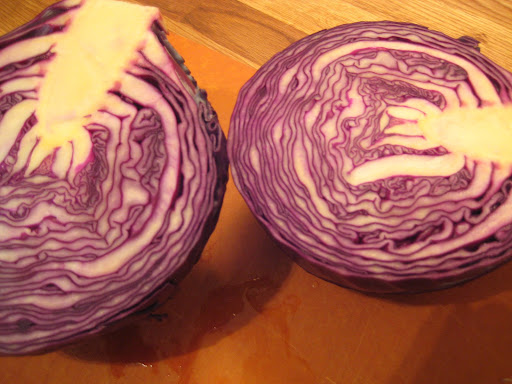
I just love to look at cabbage, don’t you?

I cut the halves lengthwise midway through, so I wouldn’t have huge long strips. Next time I’d make two cuts, I think–there were still some lengthy pieces of cabbage in there. I also wasn’t quite as strict about peeling off the outer leaves on the first half, so those were a little tough. Even if they look perfect and great, make sure to get those out leaves off!

I dressed the slaw before starting the pork, and let it sit for a while. Tom and I had learned a lesson about salting it too early, so I waited until before I served it to salt it, to keep it from getting too watery. The leftovers did let off a lot of juice and dressing but that was fine.

Really delicious. That pork was *tender* and had good flavor and that nice crispy crust. Ben hates slaw, so I cleverly called the slaw “cabbage salad”–tricky, no? He still doesn’t love cabbage, but after dinner he said “That was a success. We could have that again,” so…

Christy’s stuffed peppers

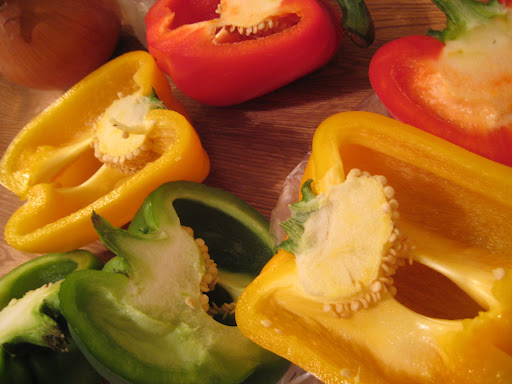
I previously wrote up my Mother in Law Christy’s meatloaf recipe, the one that opened my eyes to the power of a meatloaf sandwich. When we were on Long Island for Easter she taught me to make another easy weeknight entree (and one of Ben’s favorite meals ever), stuffed peppers, and I tried them out myself a week or two later. I’d never had a stuffed pepper before, so I don’t know if this is a typical recipe, but it is incredibly easy and SO tasty. I don’t even like peppers that much, but cooking the filling in them actually adds nice flavor, and I even ate most of the pepper with the filling! Ben likes the green ones; I prefer red or orange or yellow.

Christy’s Stuffed Peppers
(the recipe is pretty rough–just adjust everything to taste!)

For each pound of ground beef:
3 big or 4 small bell peppers
1 onion, chopped
1.5-2 cups cooked rice (I bought it for a fortune from the hot bar at Whole Foods but next time I’ll suck it up and cook it myself first… It would be a nice time saver to cook extra next time you’re making rice and use leftovers the next night!)
1 16 oz. can of tomato sauce (I used Muir Glen, and made sure it was not the kind with basil in it)
Grated cheese (Cheddar is good; I used a grated “mexican” blend from Trader Joe’s that I need to use up!)

Preheat the oven to 350.

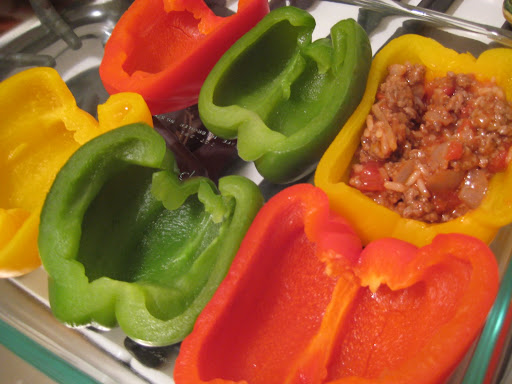
Clean and core the peppers (I cut mine lengthwise but you can also just cut the top off and fill them like cups. I will do it that way next time. I overfilled one small and two big peppers and ate the bit of extra filling while they baked, because I was starving.)

Blanch the peppers in boiling salted water until they are tender but not soft. (A few minutes) Drain and set aside.

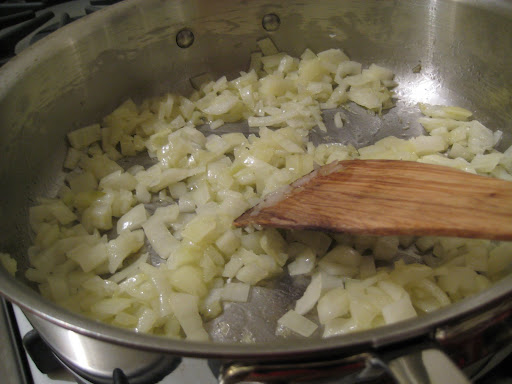
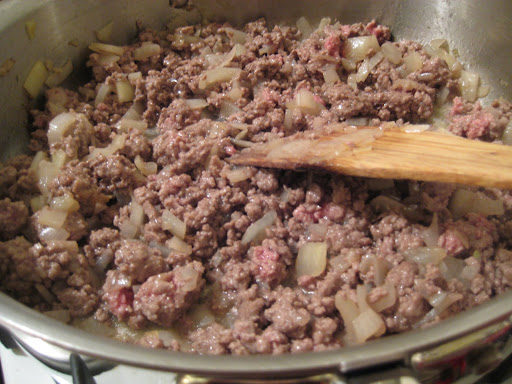
Sauté the onion until soft, then brown the beef.

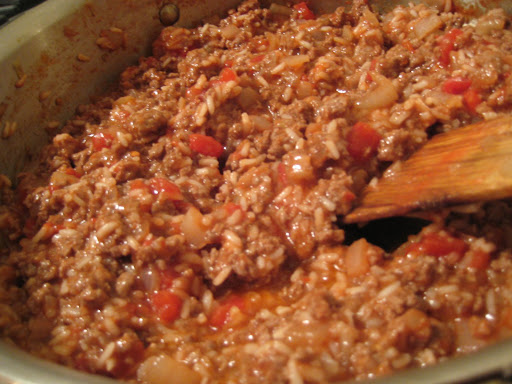
When the beef is cooked, add in the tomato sauce and the rice and cook for 15 minutes or so, or until it tastes well blended.

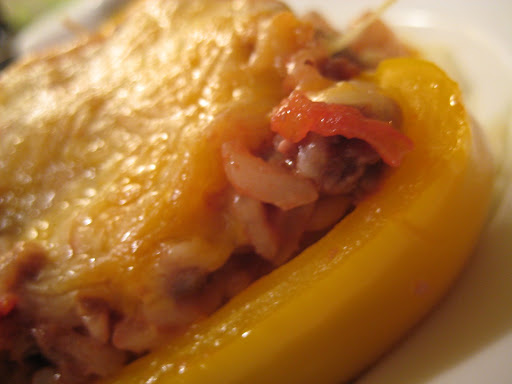
Arrange the peppers on a baking sheet or in a casserole pan. Fill with the meat mixture, top with cheese, and bake for 15 or 20 minutes, until the cheese is melted.

The melted cheese looks so sad in these photos, I’m sorry!

Despite the simplicity of the recipe, these were incredibly flavorful and tasty. We ate leftovers for dinner a couple nights later and they were even better, though reheating was a bit tricky. I think if I knew I’d have leftovers I would leave the cheese off those when I was baking them, and then microwave them to heat the filling before adding the cheese and broiling them for a couple minutes.

Mac and Cheese (lots of cheese)

So if you were cooking for someone who had a terrible cold and was very congested and having trouble breathing at night, what would you make? Probably chicken soup or something equally clear and comforting. Probably not Mac and Cheese made with 2.5 pounds of dairy (and 1/2 pounds of pasta). I am not smart sometimes.

But I made poor, suffering Ben this Milk Bomb last week and he’s still alive (and his cold seems to be tapering off), so no long-term harm done.

I remember seeing this mac and cheese recipe in the New York Times a million years ago (back in my Brooklyn days, when I never actually cooked) but I forgot about it until I found it in the Smitten Kitchen archives last week. It is FAST to pull together.

My favorite part of the recipe is how after the ingredients it says things like “Not lowfat.” Thank you, Ms. Moskin!

Creamy Macaroni & Cheese
From the NYTimes via Smitten Kitchen

Time: 1 hour 15 minutes

2 tablespoons butter
1 cup cottage cheese (not lowfat)
2 cups milk (not skim)
1 teaspoon dry mustard
Pinch cayenne
Pinch freshly grated nutmeg
1/2 teaspoon salt
1/4 teaspoon freshly ground black pepper
1 pound sharp or extra-sharp cheddar cheese, grated
1/2 pound elbow pasta, uncooked.

Lots of Dairy:

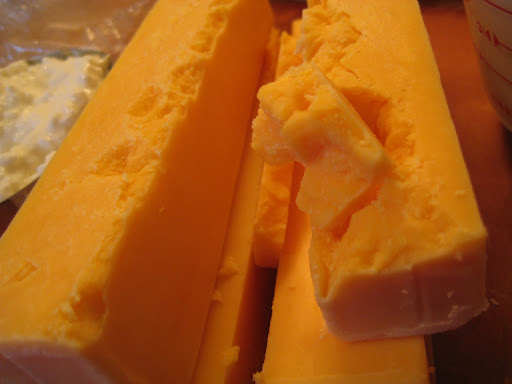
Let’s look again at that pound of extra-sharp cheddar (Tillamook: Go Oregon!):

And behold, once again, the magical powers of the Cuisinart’s grating abilities:

A pound of cheese grated perfectly in 30 seconds. Love!

1. Heat oven to 375 degrees and position an oven rack in upper third of oven. Use 1 tablespoon butter to butter a 9-inch round or square baking pan.

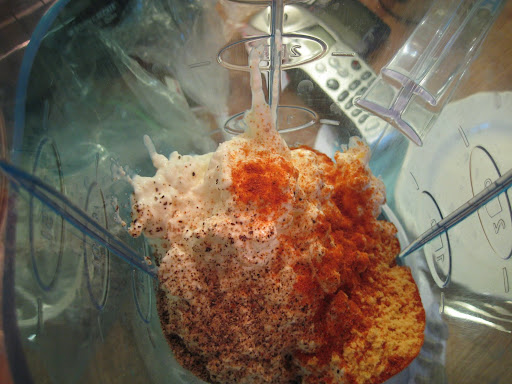
2. In a blender, purée cottage cheese, milk, mustard, cayenne, nutmeg and salt and pepper together.

I blended it with about half the milk to start with, to get the cottage cheese really smooth, then added in the rest. Blending without enough milk made my blender shut itself off several times, oops.

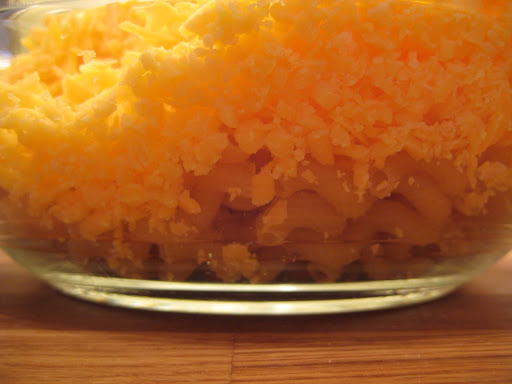
Reserve 1/4 cup grated cheese for topping. In a large bowl, combine remaining grated cheese, milk mixture and uncooked pasta.

Cheese-to-pasta ratio:

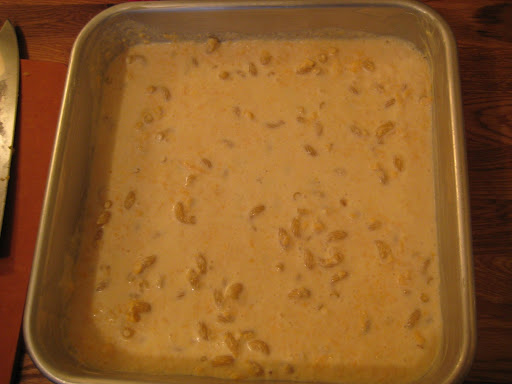
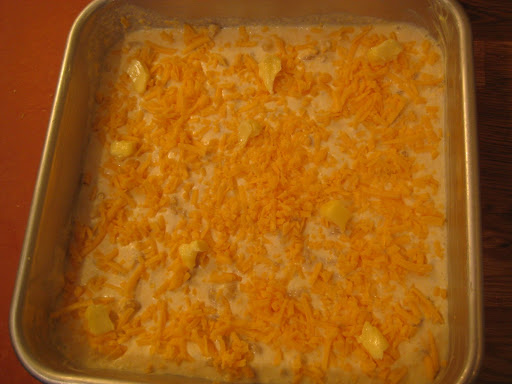
Pour into prepared pan…

Fine, that looks unappealing but it will improve!

…cover tightly with foil and bake 30 minutes.

Note that it does NOT say to add on the reserved cheese on top before bundling it into the oven. So it should not have looked like this before I covered it tightly and baked it:

I only realized that once the cheese was on and the thing was in the oven. Too late.

3. Uncover pan, stir gently, sprinkle with reserved cheese and dot with remaining tablespoon butter.

Since I’d already put the cheese on, I tried to stir delicately and leave some cheese still on the top, but I pretty much failed. Oh well.

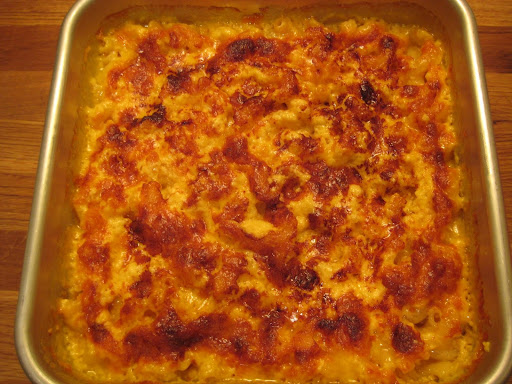
Bake, uncovered, 30 minutes more, until browned. Let cool at least 15 minutes before serving.

Yield: 6 to 8 servings.

We had large arugula salads on the side to cut the fat. I toasted some walnuts to scatter on top–a favorite combination, since the bitter nuttiness of the arugula goes great with walnuts.

The mac and cheese was very tasty and easy to put together but I’m afraid it didn’t reheat very well–the cheese congeals and the whole thing gets oily, ugh. I think to get a smooth, re-heatable result I’d have to go back to a bechamel technique, no? But if you’re feeding a couple dozen hungry adults (ok, more like 6 or 8…) a pan of this is a nice tasty weeknight dinner. The NYTimes story had an alternate recipe for crusty-toppinged mac and cheese that I might try, or I could try this one again with a topping of breadcrumbs. I am in the crisper-toppings mean better-times camp.

Hopefully it will feel like spring soon, though, and I won’t try out any more heavy mac and cheese recipes until next fall. Please?