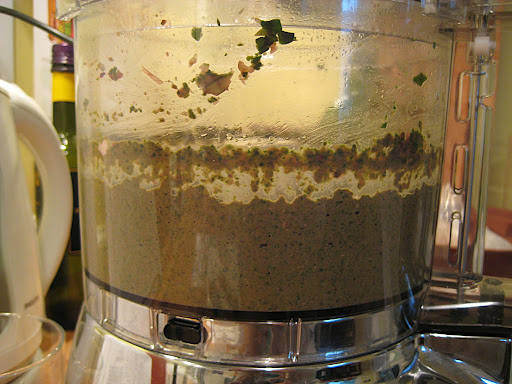
Let’s move past that sad pesto, shall we?
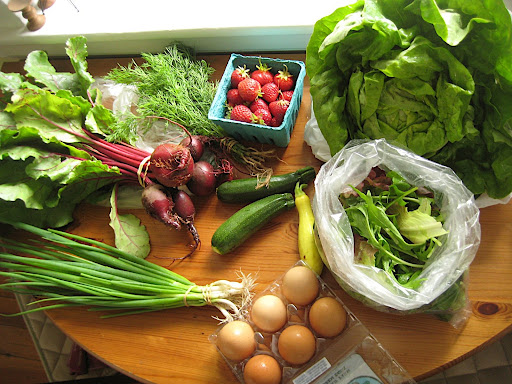
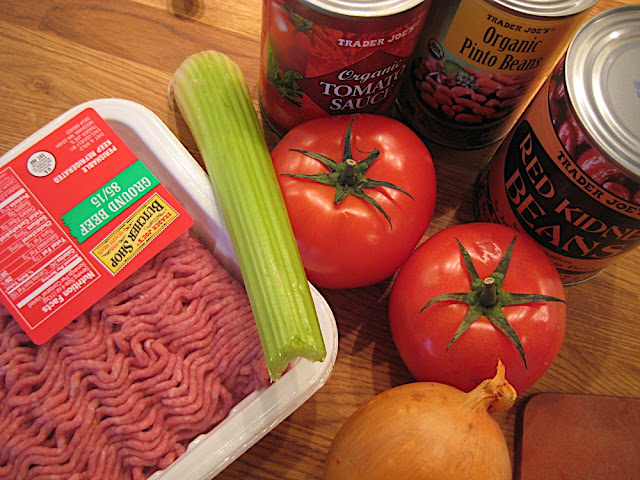
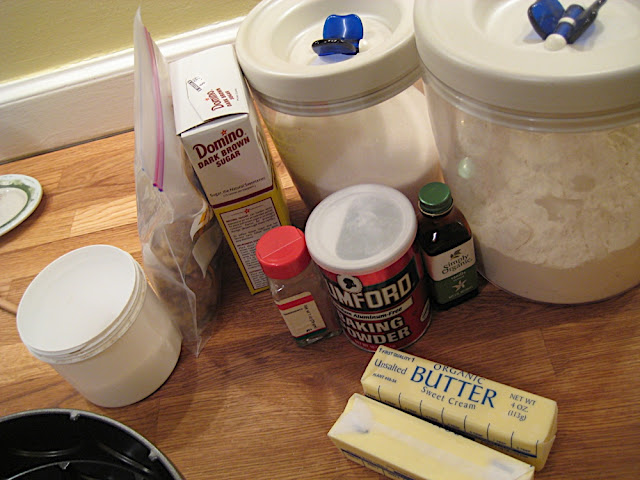
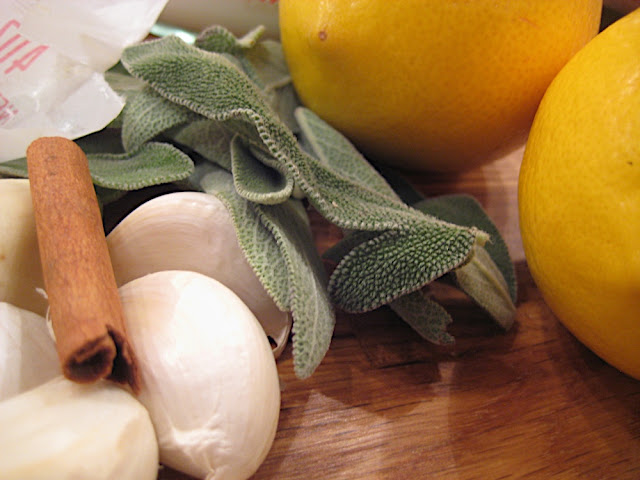
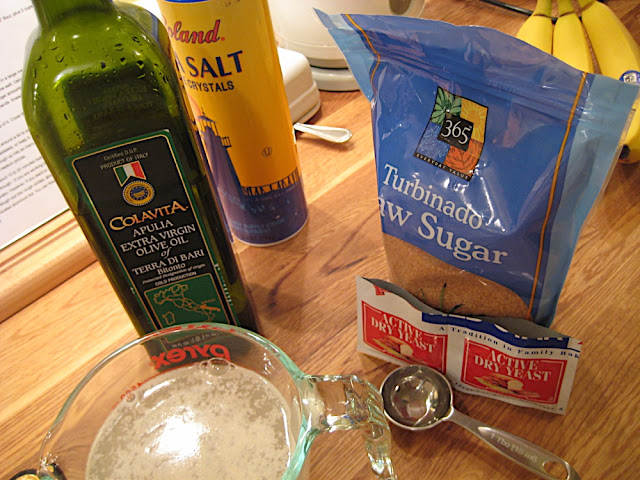
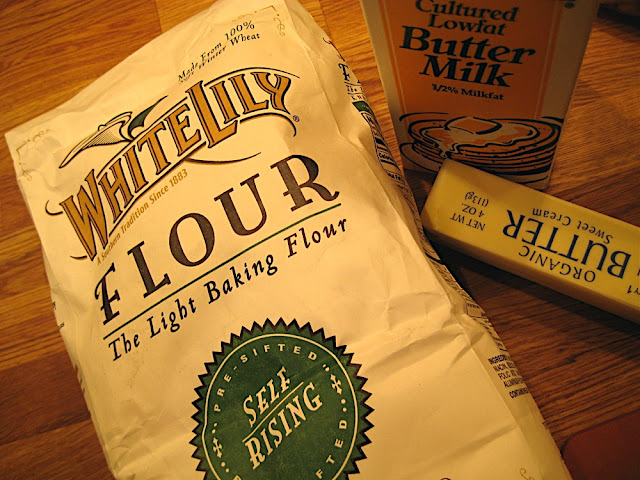
The goods:
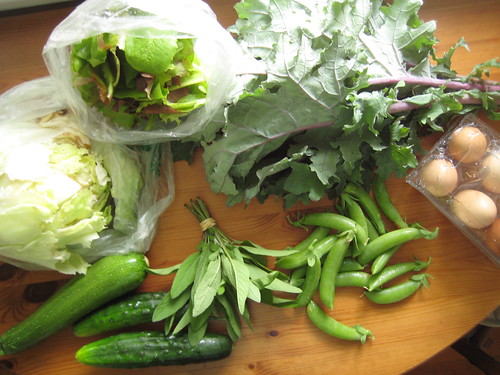
-Kale
-Mesclun
-Iceberg lettuce
-Sage
-Sugar snap peas
-Cucumbers
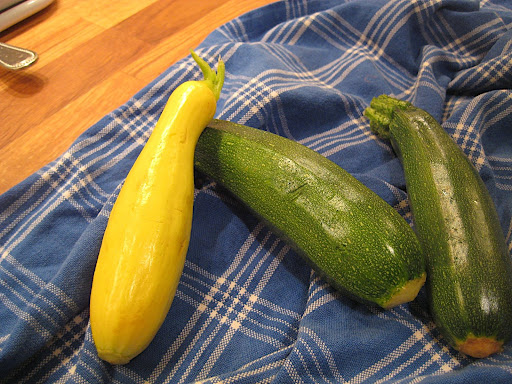
-Zucchini
-Weekly eggs
My favorite restaurant in the neighborhood is Rendezvous in Central Square. It’s in a converted Burger King, but it’s just the perfect New American/seasonal kind of place, with great food and fantastic servers. The one downside is that they’ve priced everything just a tad too high for it to be the “we’re regulars” neighborhood joint that the decor and level of formality convey.
Anyway, Rendezvous famously serves a meatball dish (one that the chef has tried to take off the menu but ended up having to reinstate, I’m sure due to people like me calling in and saying “and when we’re there, could we get a few orders of the veal meatballs?”), described as follows: “Braised pork and veal meatballs with toasted orecchiette, maitakes and piave cheese.” We ordered them on our first visit, ages ago, and since then I’ve only ordered something else once, because once someone says “Let’s go to Rendezvous,” I start daydreaming about veal broth.
This dish is heaven. Forget the meatballs, which are great but—in my not-so-humble opinion—the merest decoration. A sideshow, if you will. The mushrooms vary by season but are always divine. The cheese adds a note of sharpness, as do the greens, which are also tossed with the toasted orecchiette. The toasted pasta gives another layer of texture and flavor, instead of just being a backdrop. And the whole thing sits in a pool of broth that cannot be described in words. I’m sure it is the result of restaurant resources, in the form of veal stock and AGES to cook it down, but it’s the kind of broth that you have to hold back from licking out of the bottom of the bowl. I do not, however, hold back from mopping it up with bread.
Ahem.
This dish, it is amazing. And last week I got kale in the CSA and I had very little else in the house aside from frozen pancetta and a bit of cheese and a box of….orecchiette! So I decided to make a Weeknight Tribute To the Best Pasta Ever.
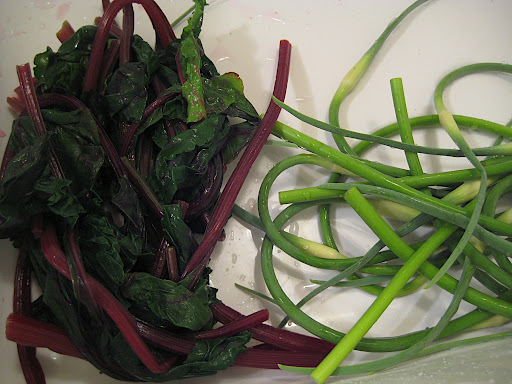
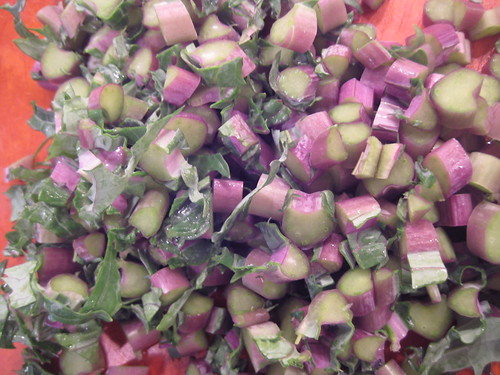
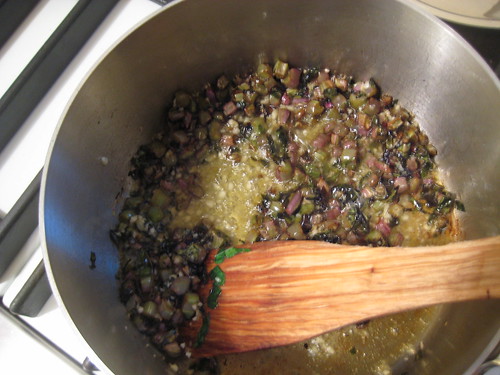
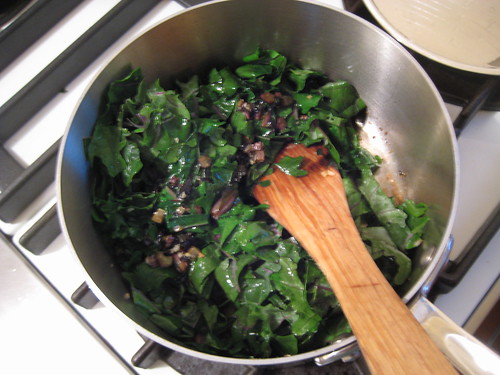
I started by cooking the pancetta in a sacepan. I removed that to drain, and cooked my kale, making it very garlicky and starting with the chopped stems a while before adding the leaves.
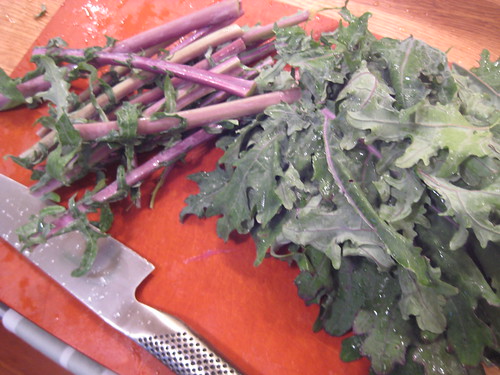
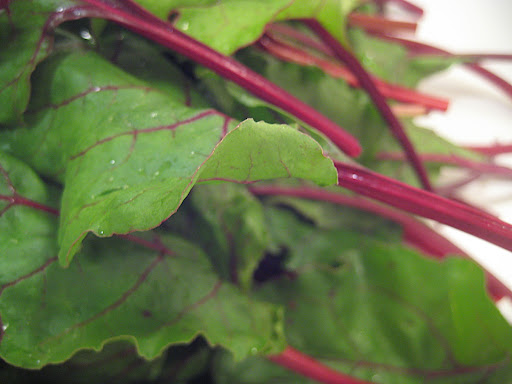
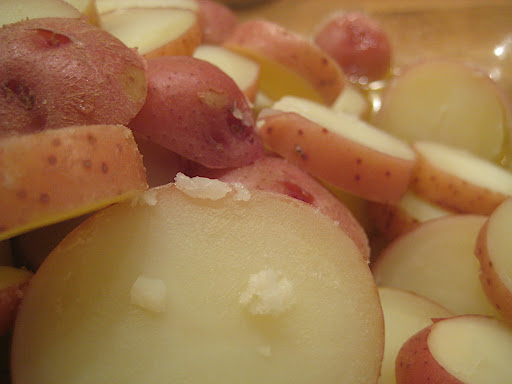
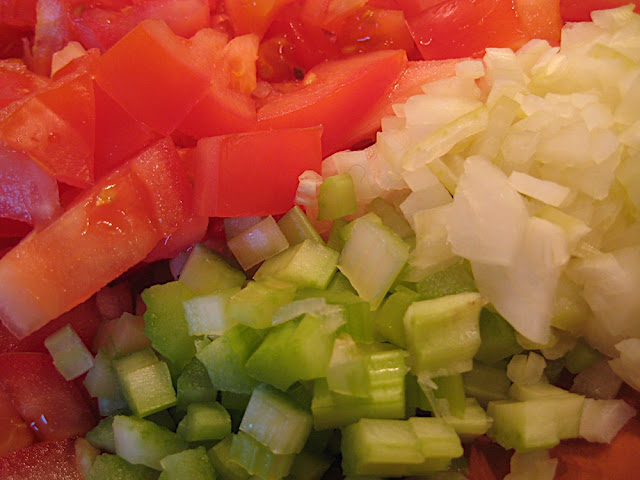
(Nature’s colors are always so perfect:)
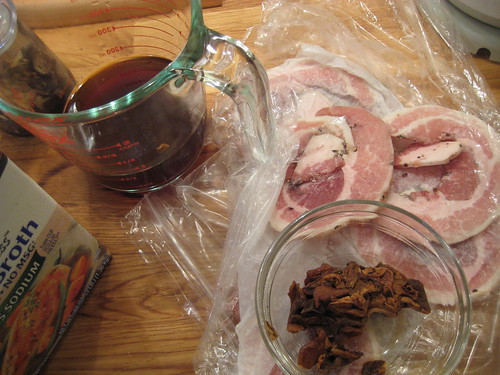
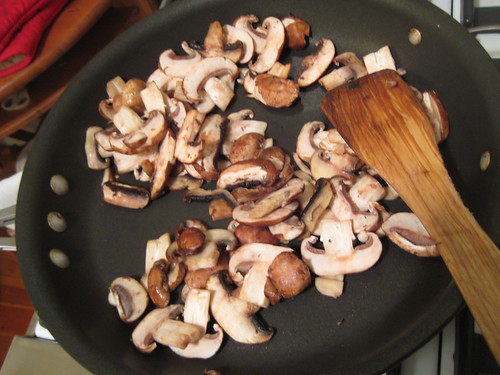
I asked Ben to pick up fresh mushrooms, and he brought home a dozen nice cremini. (Meanwhile I had also soaked a bunch of dried porcini in boiling water; I bought a cheap bag somewhere and it’s impossible to get the grit out of them but they’re good for making broth.)

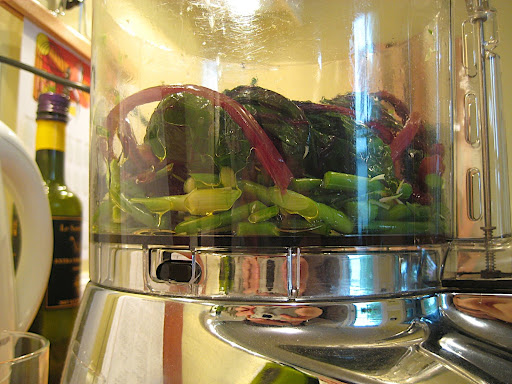
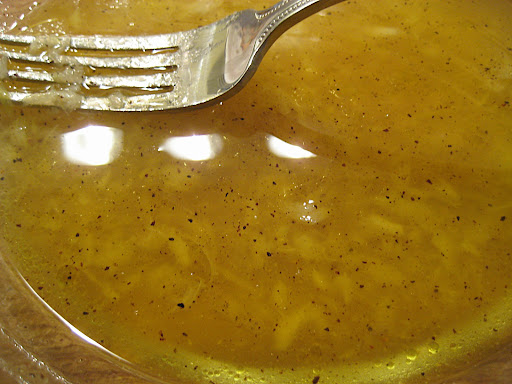
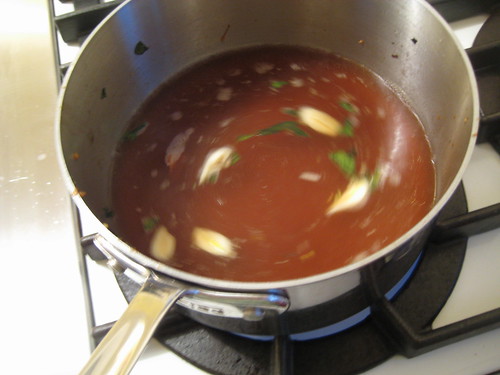
When the kale was cooked, I put it aside and put chicken broth, the mushroom broth, halved garlic cloves and a bit of the pancetta in the same pot to cook down while I finished everything else off. Oh, I also boiled the pasta.
(Twirling contents in the broth)
In my large nonstick pan, I sautéed the mushrooms:
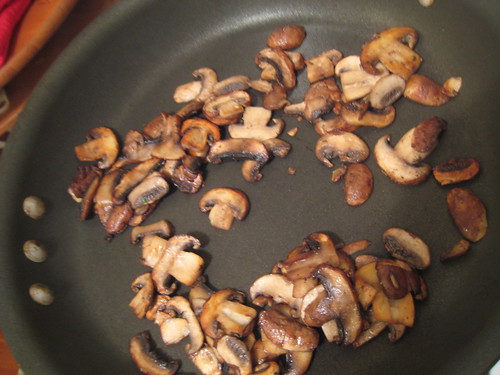
Dumped those on the cutting board with the kale and got to work toasting the pasta, which takes longer than you’d expect (I actually didn’t take it as far as I could have.)
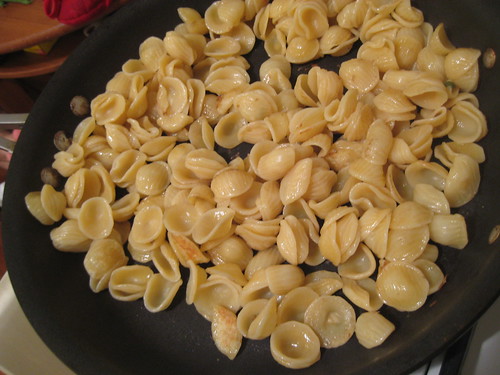
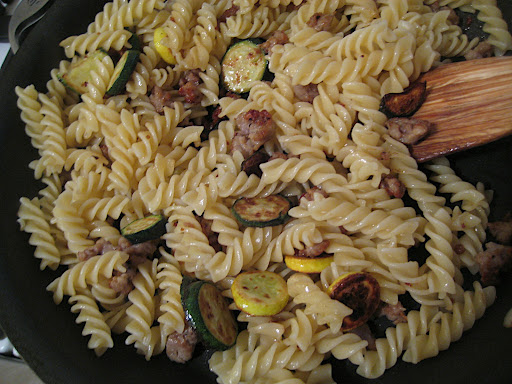
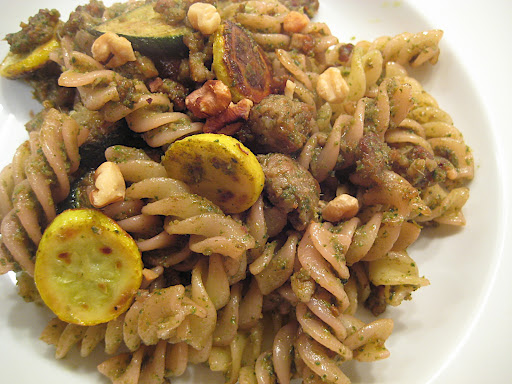
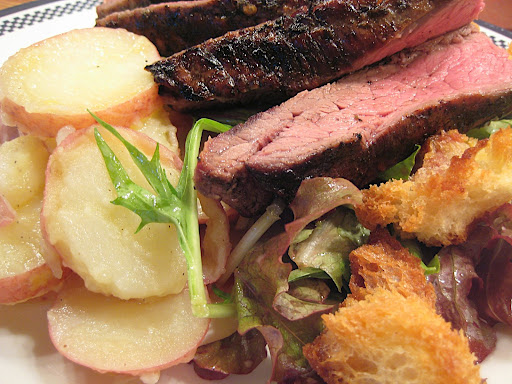
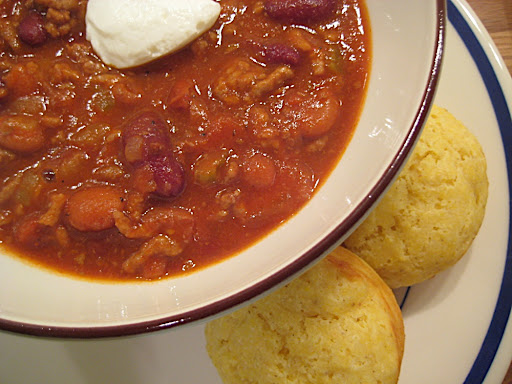
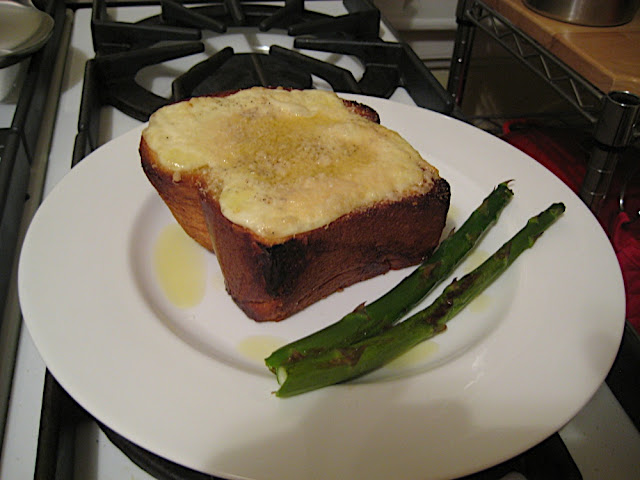
When the pasta was toasty (again, it wasn’t toasty enough), I put the mushrooms and kale back in, tossed it all together, plated it with a ladle or two of the broth, and topped it with pancetta and parmesan.
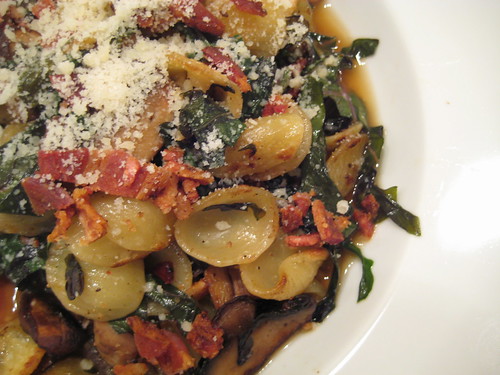
Not. Half. Bad. I certainly wolfed mine down fast. Considering that I was using cremini mushrooms, and Swanson’s Low Sodium chicken broth (doctored up) instead of some kind of amazing veal reduction, I was pretty impressed. Will make again.
But Rendezvous? I love you. Please start serving the pasta-only version of the meatball dish. It’s almost my birthday, you could make it my present. xo!
—
I’m off to Aruba for the wedding of a dear, dear friend! I had a long sundress and dangly earrings. I’ll be back briefly next week, and then off again for some New England Jaunting with my parents. Want a preview of the things I haven’t posted yet (and some that I have)? I finally started using Flickr instead of Picasa for my blog pics, and you can find all my fancy new sets here. Also enjoy some of my all-time favorite photos, the blurry pictures of the signs my nutty and ancient Brooklyn landlord festooned around our building. “Major” use of “inappropriate” punctuation “on those.” (FYI, when he says “Silent-Alarm” he means “high decibal buzzing sound whenever the bolt is unlocked, audible from anywhere in the building.”)