
Last time we checked in on the kitchen, I hadn’t bothered to post a photo with knobs up on the cabinets. We did actually take care of that back around Thanksgiving, but since then there has been little progress on the final few things to do in the kitchen. But sparked by I don’t know what last week, Ben and I spent Friday and Saturday gathering the goods and installing the long-awaited shelf above the counter! What better way to spend the Fourth of July than at two Home Depots? And how about a solid 12-hour day of work in the kitchen on a summer Saturday? (It was gray out, actually, which helped.) In addition to building the shelf, installing the brackets and attaching the lighting, we also painted all the trim in the kitchen, including the windows (argh), and I painted that magnetic board in my office.
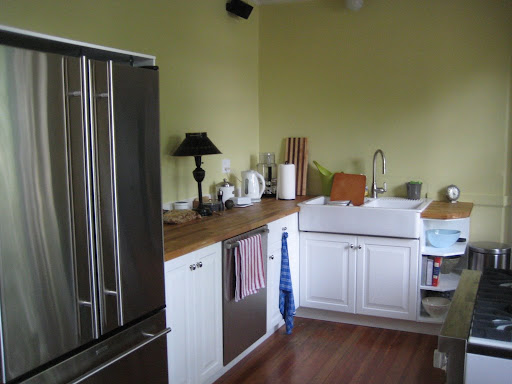
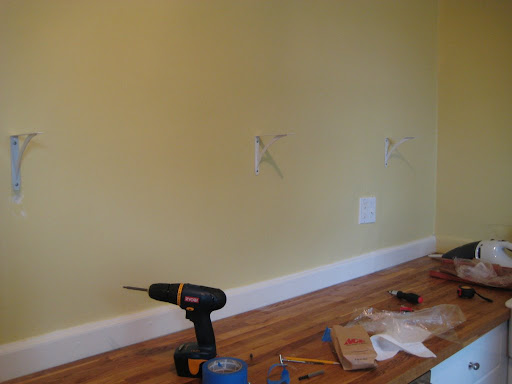
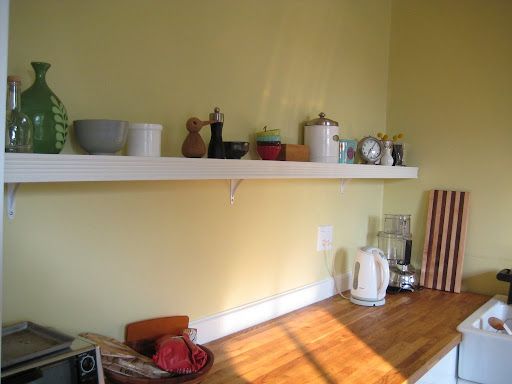
So here is the kitchen on Friday:
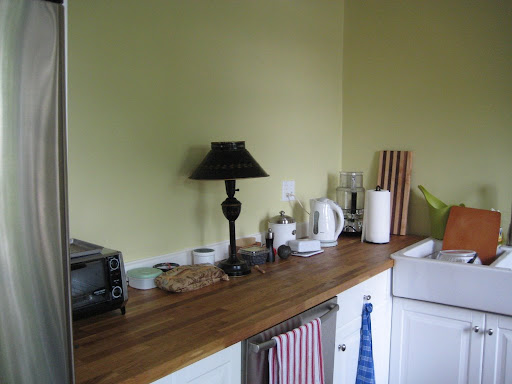
A little more detail on the cluttered, cluttered counter:
To recap the difficulty that had delayed this little endeavor, our walls are 107-year-old horsehair plaster over lathing. They are not in great shape, and of course the plaster/lathing makes it nearly impossible to use an electronic stud-finder to locate the studs. I was worried that we would bring down the whole wall if we did the shelf ourselves. But some (lengthy) internet research on Friday led me to the discovery of old school magnetic stud finders, which are basically a little plastic bubble containing a strong magnet attached to a little plastic rod. You slowly, slowly move the doohickey along the wall, and when it is over a nail (attaching the lathing to the studs!) the magnet straightens out the plastic rod, pointing the way to the stud. We acquired one and over the course of about three laborious hours I mapped out the studs over the counter. It’s a slow process because you aren’t scanning for a nice big chunk of two-by-four (or thicker, one hopes), but instead for a tiny nail somewhere deep in the plaster. I found that we were on about a 16-inch center, and scanned up and down to find at least 4 or 5 nails on each stud, then picked a rough center line through the wavering dots to aim for.
Whew, that was long-winded, but maybe it will be helpful to other old-house owners on the interwebs.
Anyway, we bought an 8-foot pine board, 8 inches deep, for the shelf, and a 2.5 inch deep trim piece (in two pieces) to make a lip to cover the lights. two two-light and two three-light linkable xenon light strips. Three metal brackets and lots of #8 screws. We drilled pilot holes for the first two bracket screws, and Ben started to put the screw in, drilling it into the apparently-petrified stud (which I had accurately located, hurray!). The screw. broke. The drill skipped off the (flat-head; HD didn’t have phillips in the right size of wood screws) screw and into the wall:
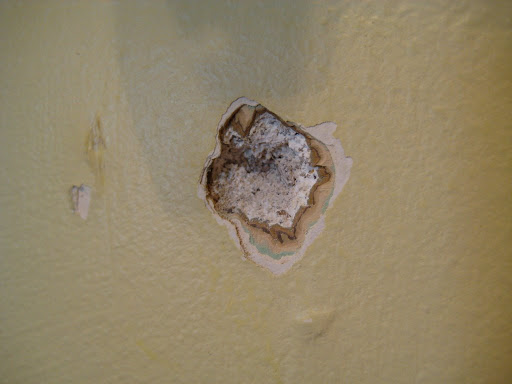
Sigh. (But check out all the old paint colors!)
But we remained calm! Ben went to the local hardware store, where they had a much better selection of sturdier screws, and he got a longer drill bit for the pilot holes. From then on it was fairly smooth sailing.
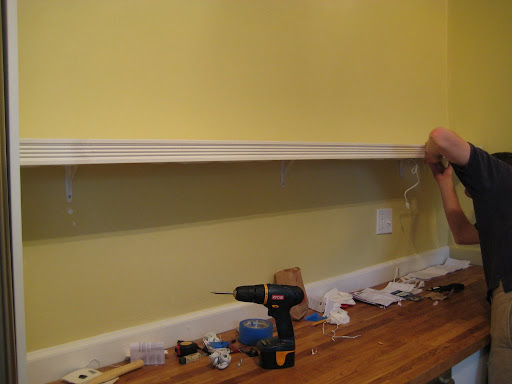
After the first bracket we figured out where the others needed to go to be level:
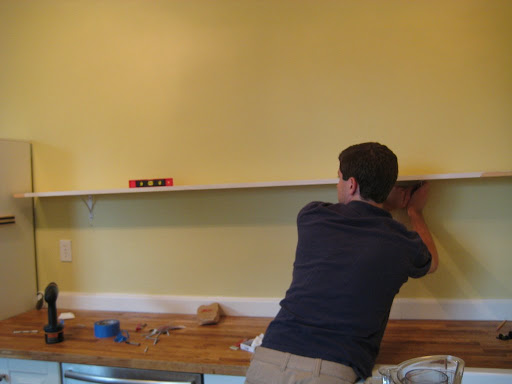
Brackets up! And sturdy!
We primed, painted and assembled the shelf pieces, and once they were dry we attached the lights to the bottom:

Put the shelf in place and spent a long time messing around to get the lights strongly in place and the wires hidden:
Ta da!!
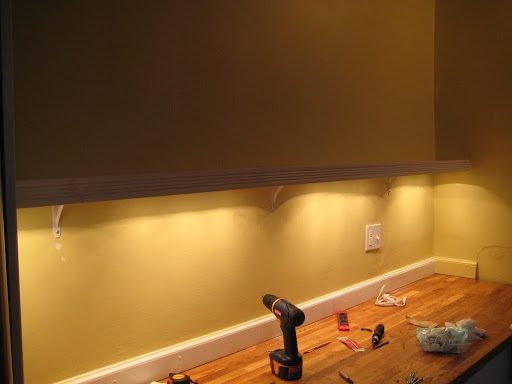
A little patching/painting action on that ding in the wall; another coat of paint on the shelf and trim, and we’re in business:
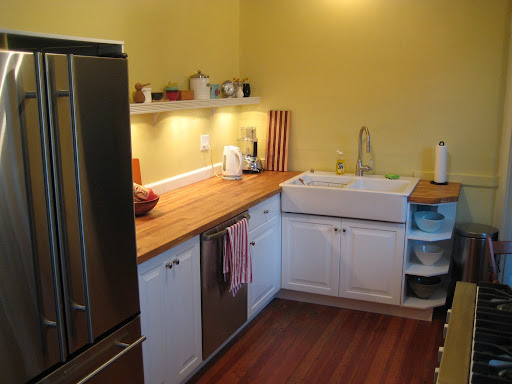
I don’t have the right mix of stuff on the shelf, but at least things are off the counter!
Hurray!
Well done! It looks great and you are going to love having the task lighting. Where do the lights plug in? Behind the fridge?
Yes, there is an extension cord that runs from behind the fridge and is out of sight next to the toaster oven. We taped the cord to the inside of the fridge surround so it stays out of sight.
great job! — it looks like it belongs there, and as Ms. B points out, the task light will make a huge difference.
Kate, well done. It looks terrific.
LOVE it! I love getting clutter off the counter. And the lighting is awesome. Xo Abbey
Oh, and I’m obsessed with your sink — I have it like 100 times in my inspiration books.
Thanks, guys!
Abbey, thank you for stopping by! I’m in love with your blog and I’ve kept your Design*Sponge house tour saved in my bloglines because it’s so my style.
We have been really happy with the Domsja (spelling?) sink–I see it everywhere now and hope it’s not getting overplayed, but it’s a great design. Very roomy, and the ridged back section is really practical for drying a lone glass or sponge or whatever.
great job! i love the length of your shelf! it looks fantastic.